
Christmas Cool Whip Candy (Easy No-Bake Christmas Treat)
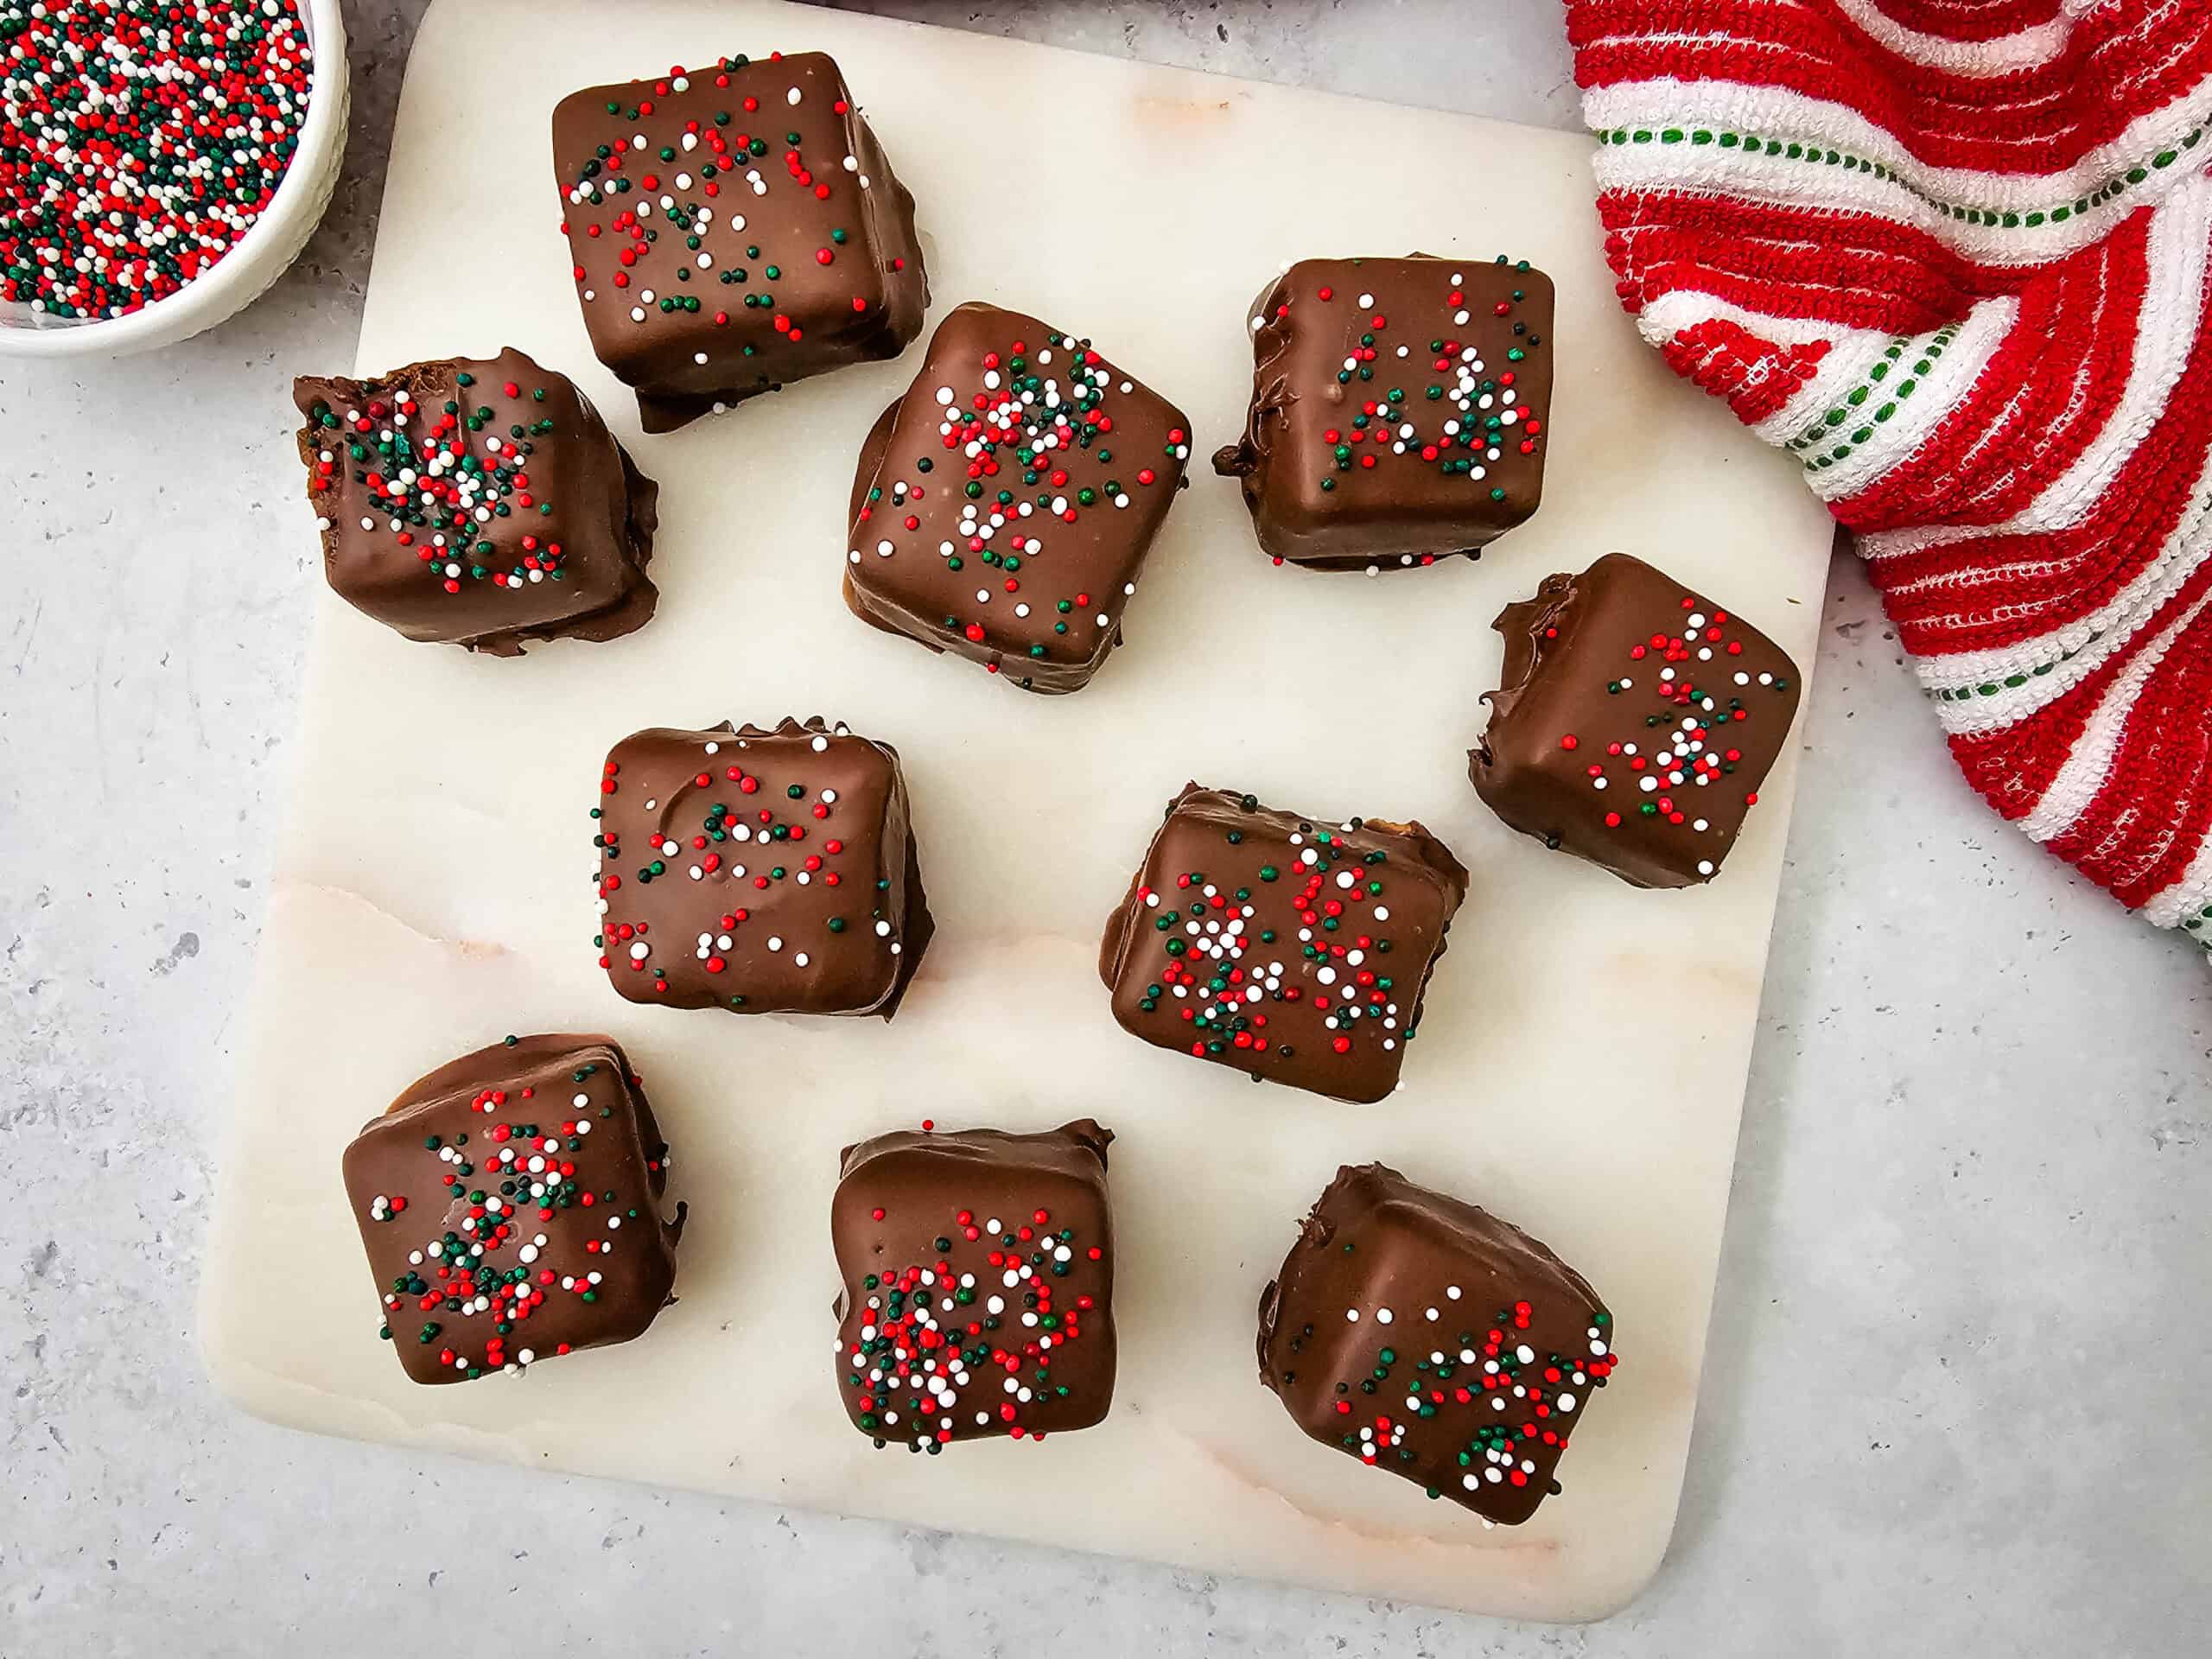
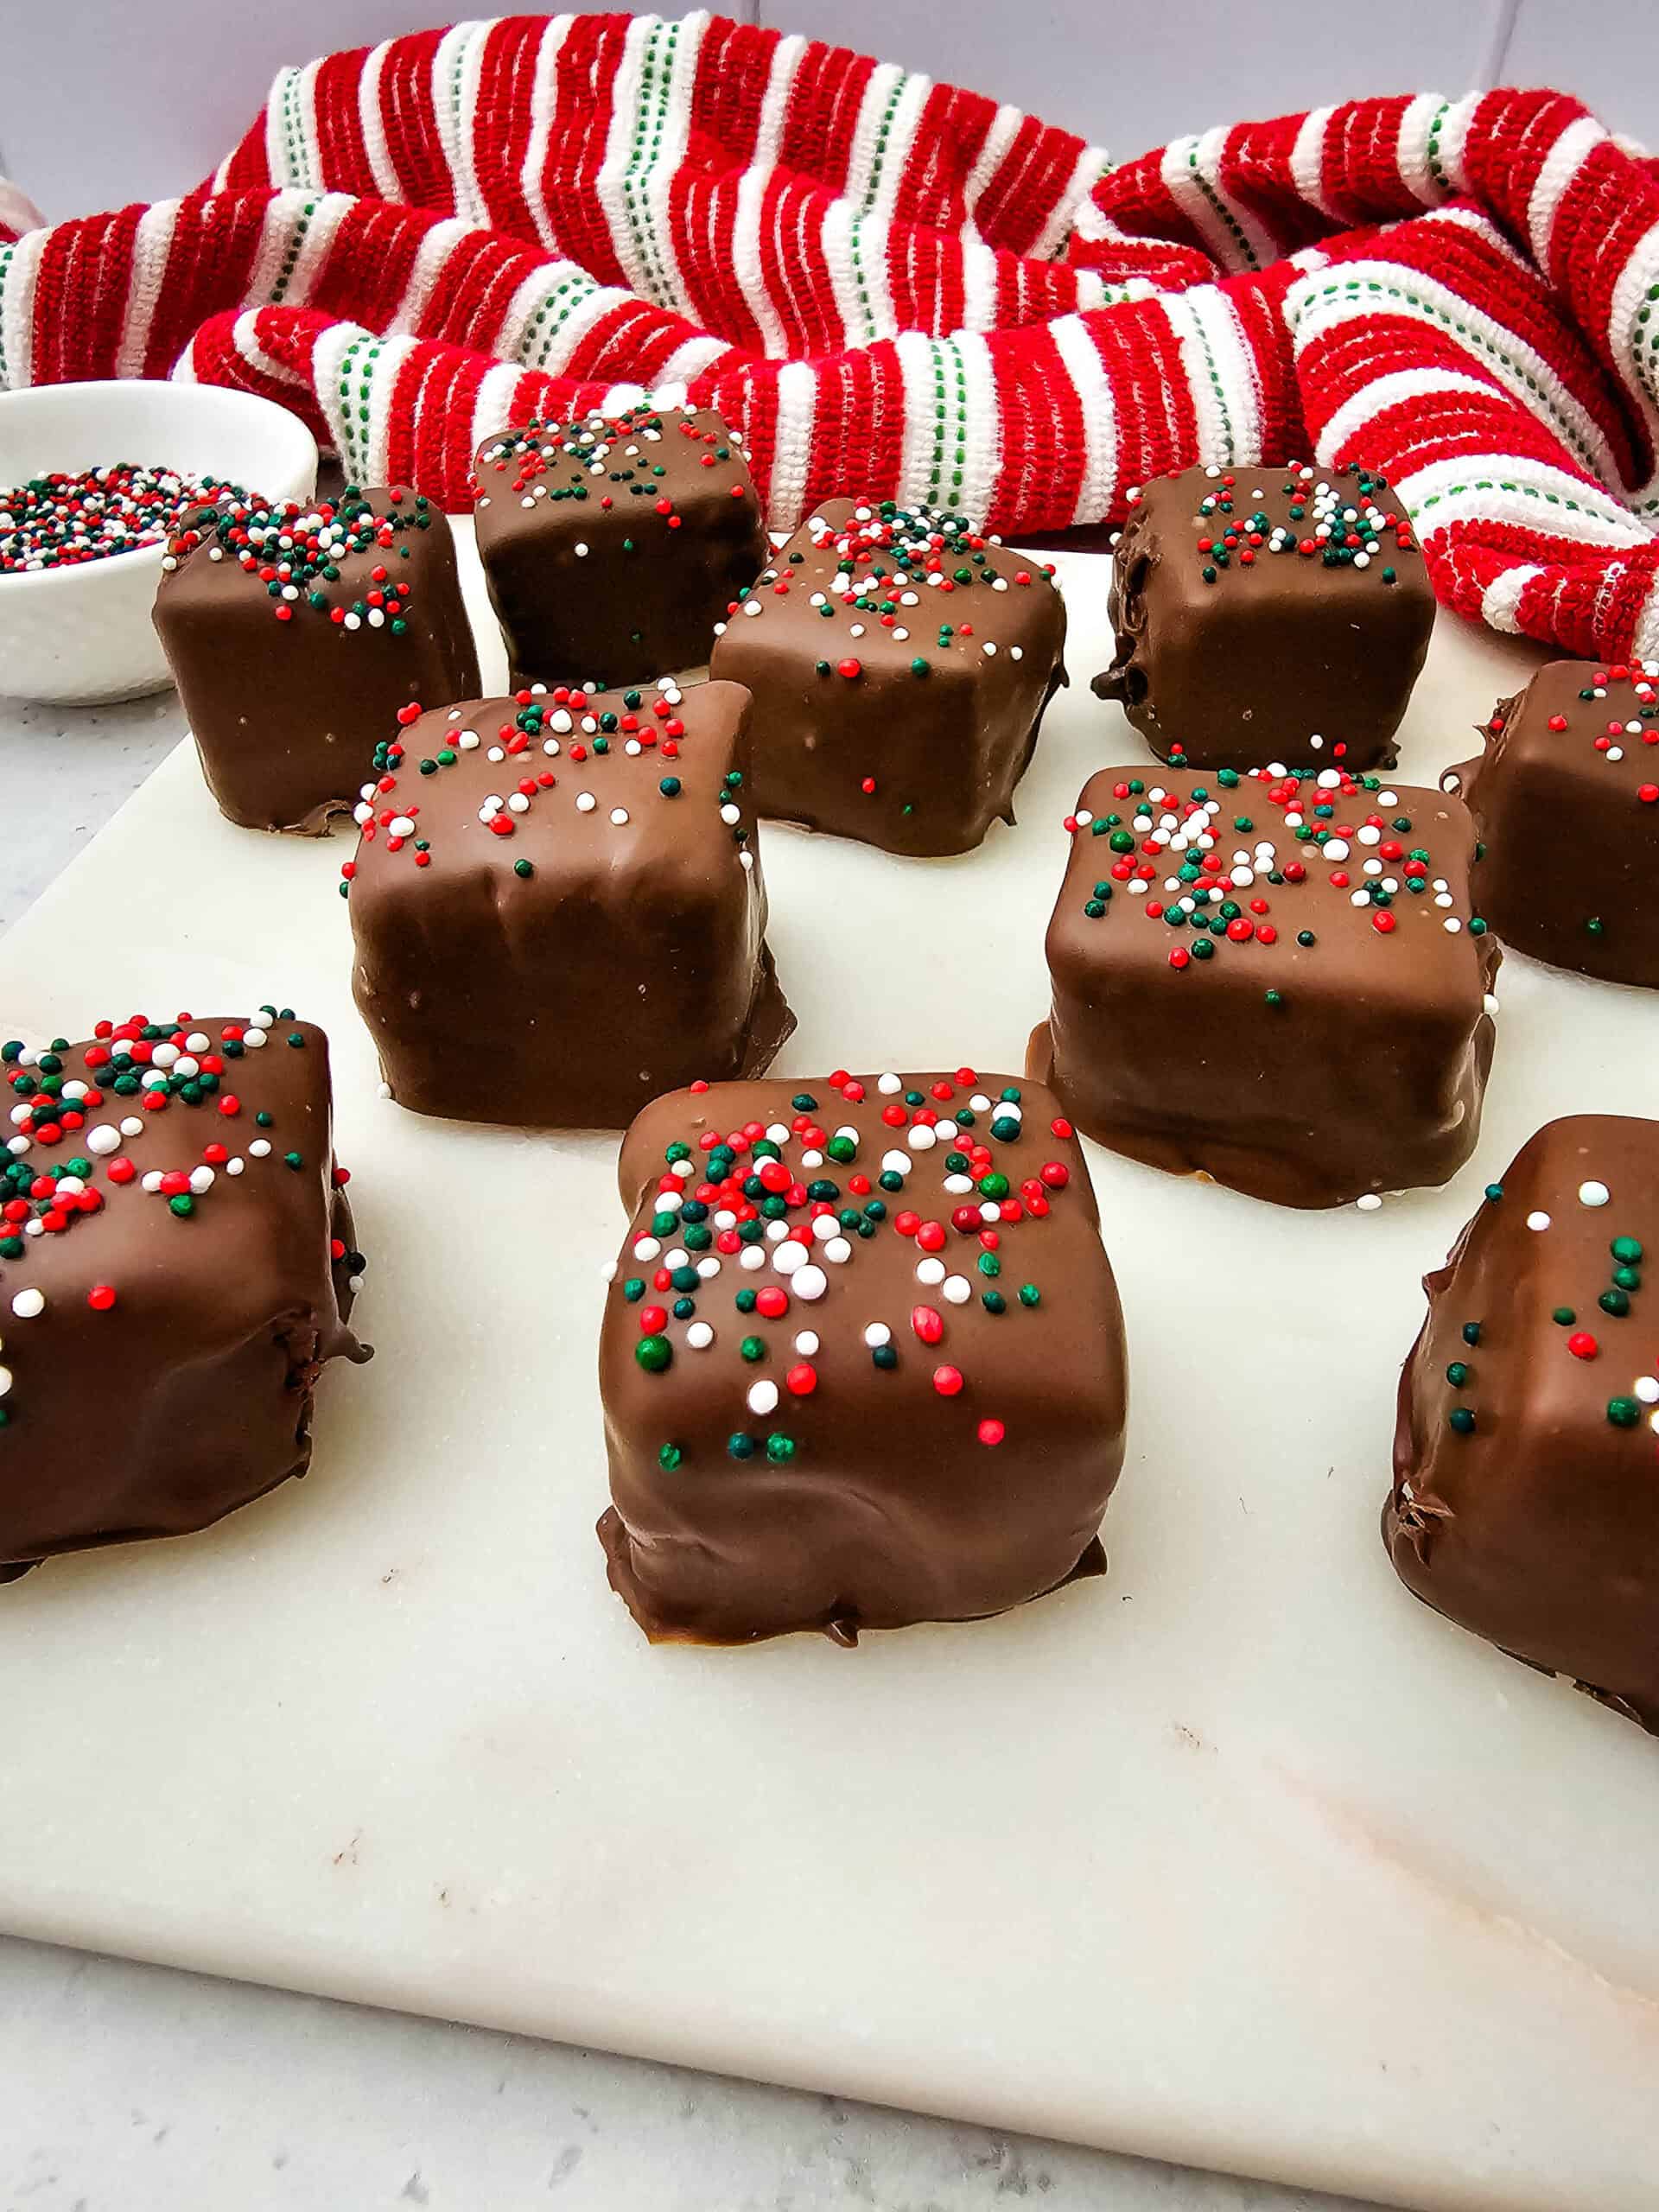
If you’re looking for an easy Christmas treat that doesn’t require baking, these Christmas Cool Whip Candies are such a fun one to make! They have a light, fluffy chocolate center covered in a delicious milk chocolate coating and finished with festive Christmas sprinkles.
This post contains affiliate links. Please see our disclosure for more details.
The best part? You only need a handful of ingredients, and they’re surprisingly simple to put together. These little candies are perfect for Christmas cookie trays, holiday parties, homemade gifts, or keeping in the freezer for when you need something sweet!
More Christmas Treats To Try
White Chocolate Cranberry Pecan Clusters
Christmas Muddy Buddies (Reindeer Chow)
Peppermint Mocha Oreo Truffles
Christmas Cool Whip Candy Recipe
Servings: 36 pieces
Prep Time: 5 minutes
Cook Time: 5 minutes
Chilling Time: 2 hours total
Storage: Freezer
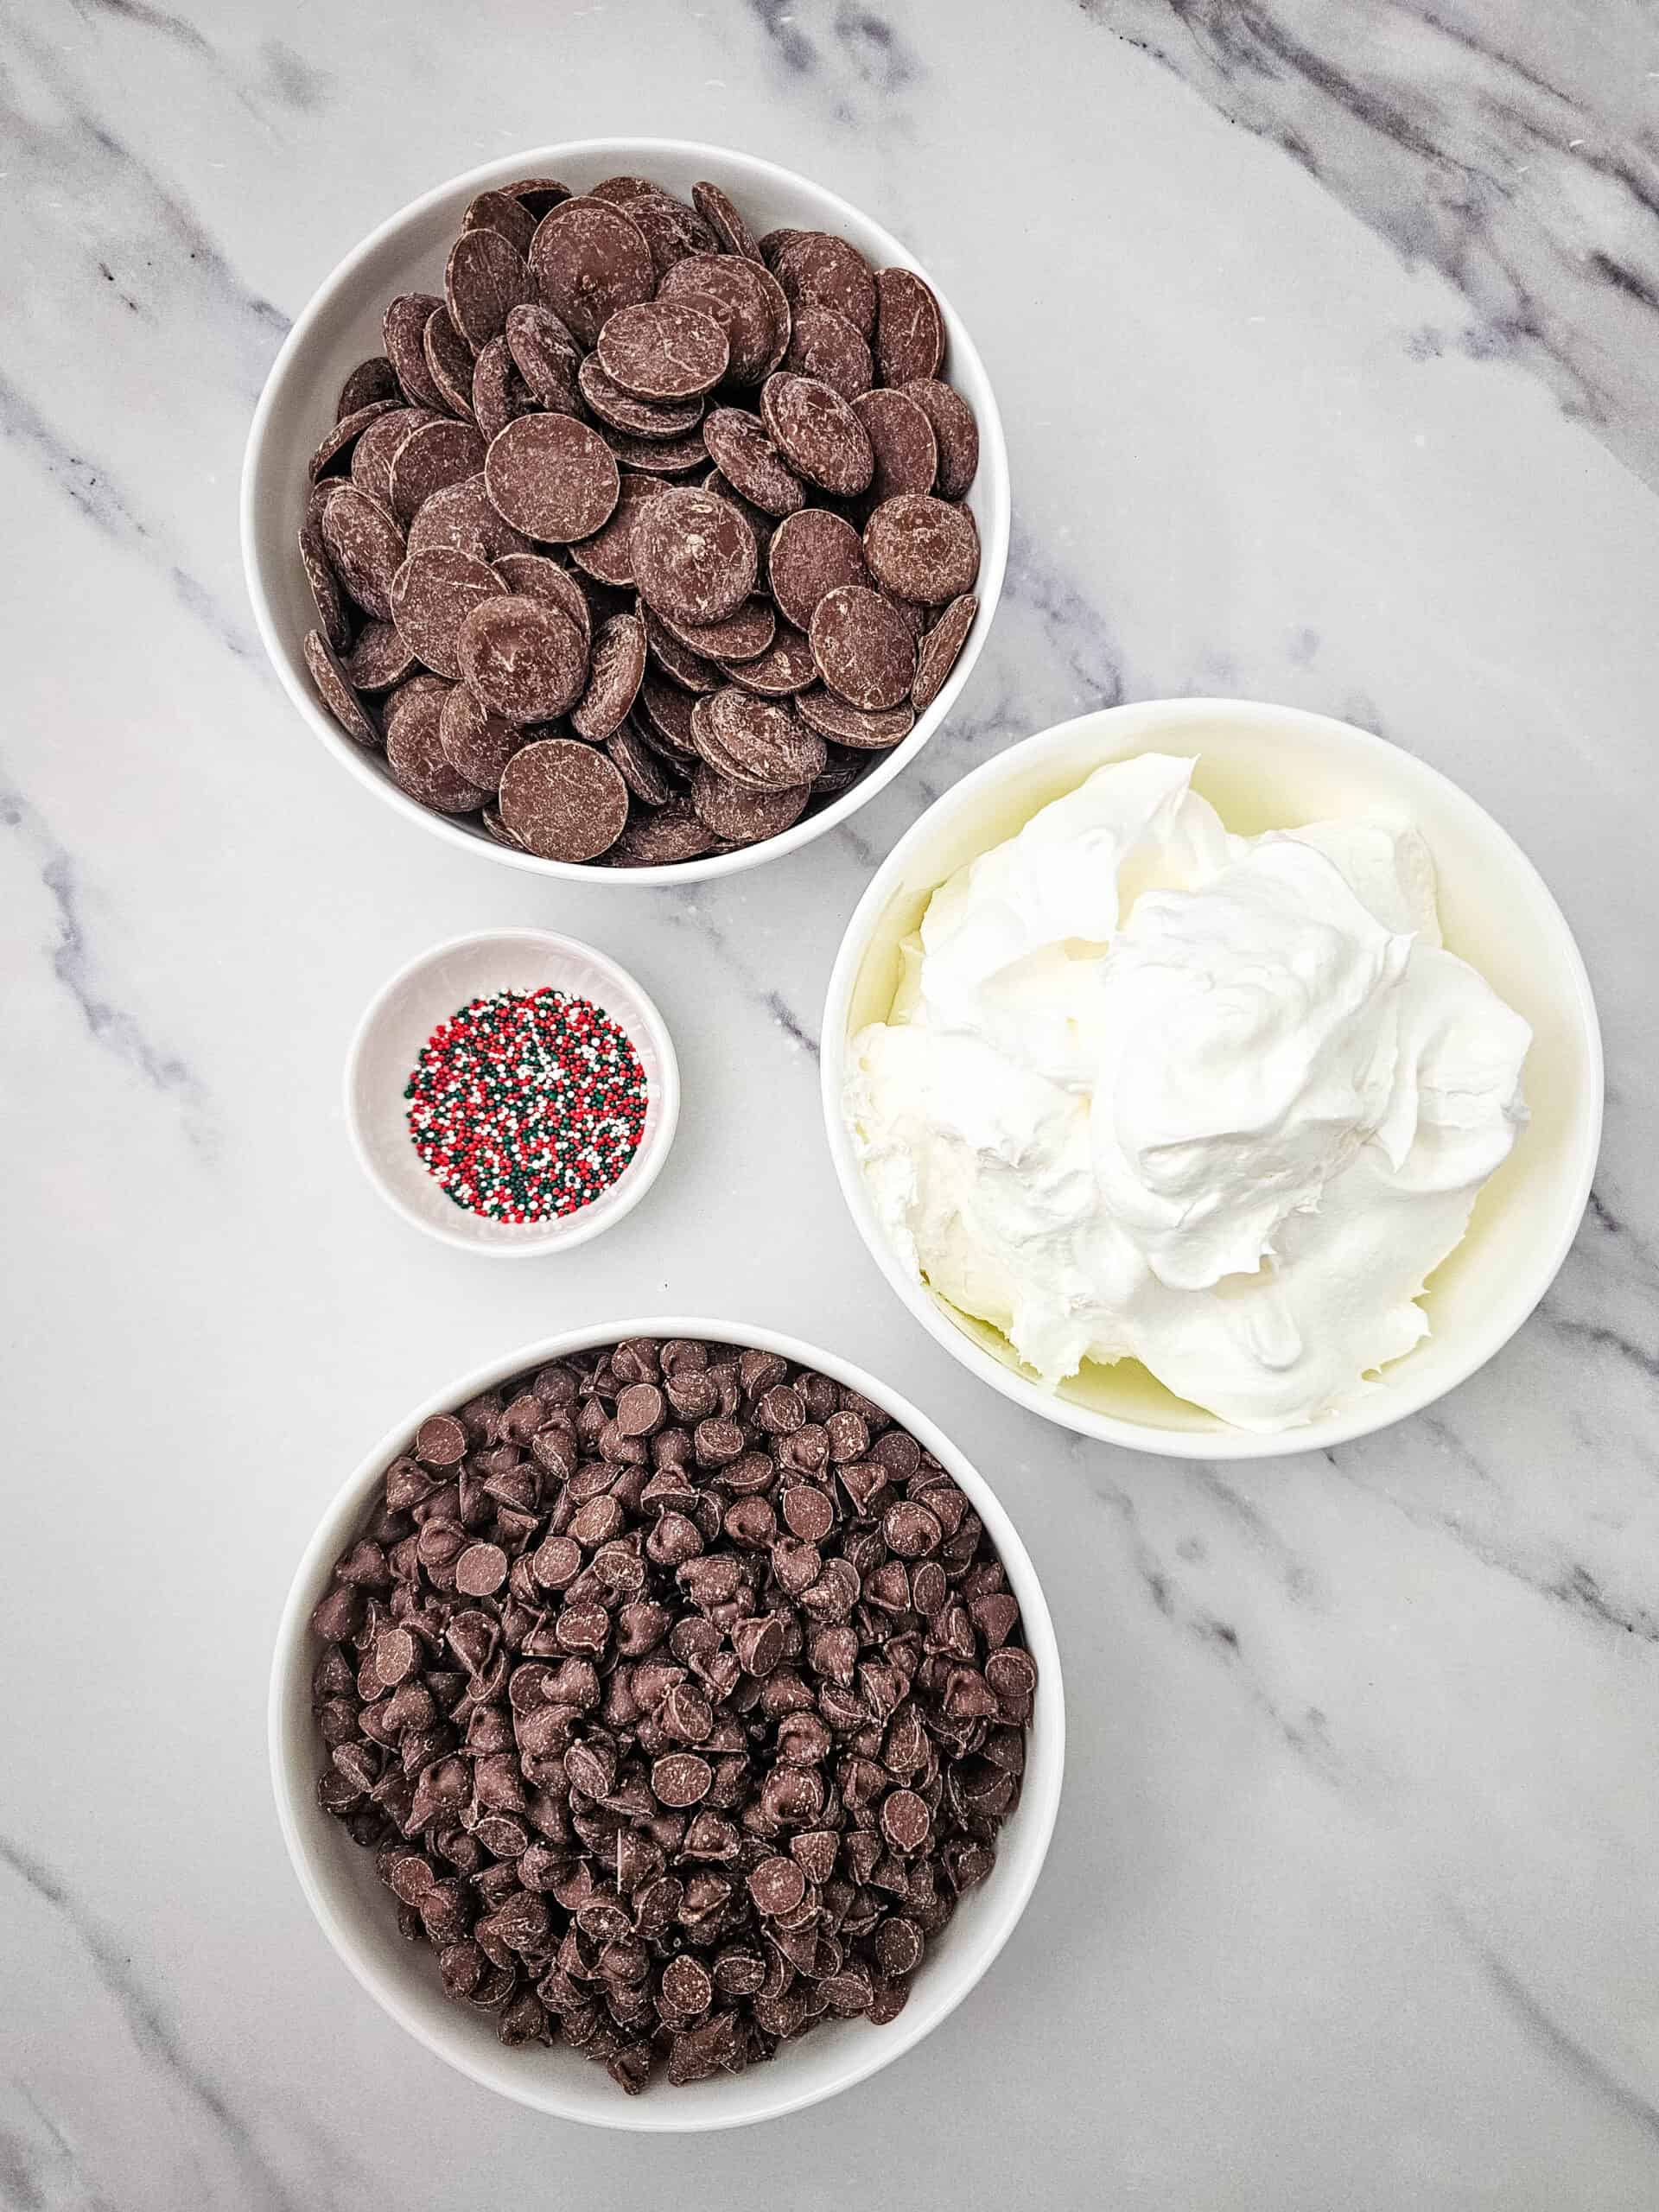
Ingredients
- 23 oz bag milk chocolate chips
- 8 oz Cool Whip, thawed
- 24 oz package milk chocolate melting wafers
- Christmas sprinkles
Equipment You’ll Need
- Medium microwave-safe bowl
- Large mixing bowl
- Spoon or small spatula
- 8×8-inch baking pan
- Cutting board
- Forks for dipping
- Baking sheets or trays
- Parchment paper
How To Make Christmas Cool Whip Candy
Step 1: Prepare Your Pans
Line an 8×8-inch baking pan with parchment paper. You’ll also want to line a baking sheet or tray with parchment paper for the finished candies.
Step 2: Melt The Chocolate Chips
Add the milk chocolate chips to a microwave-safe bowl. Microwave for 1 minute, then stir. Continue heating in 30-second intervals, stirring between each one, until the chocolate is completely melted and smooth.
Step 3: Let The Chocolate Cool
Allow the melted chocolate to sit for about 15 minutes, or until it reaches room temperature. You don’t want it too warm when mixing it with the Cool Whip.
Step 4: Mix With The Cool Whip
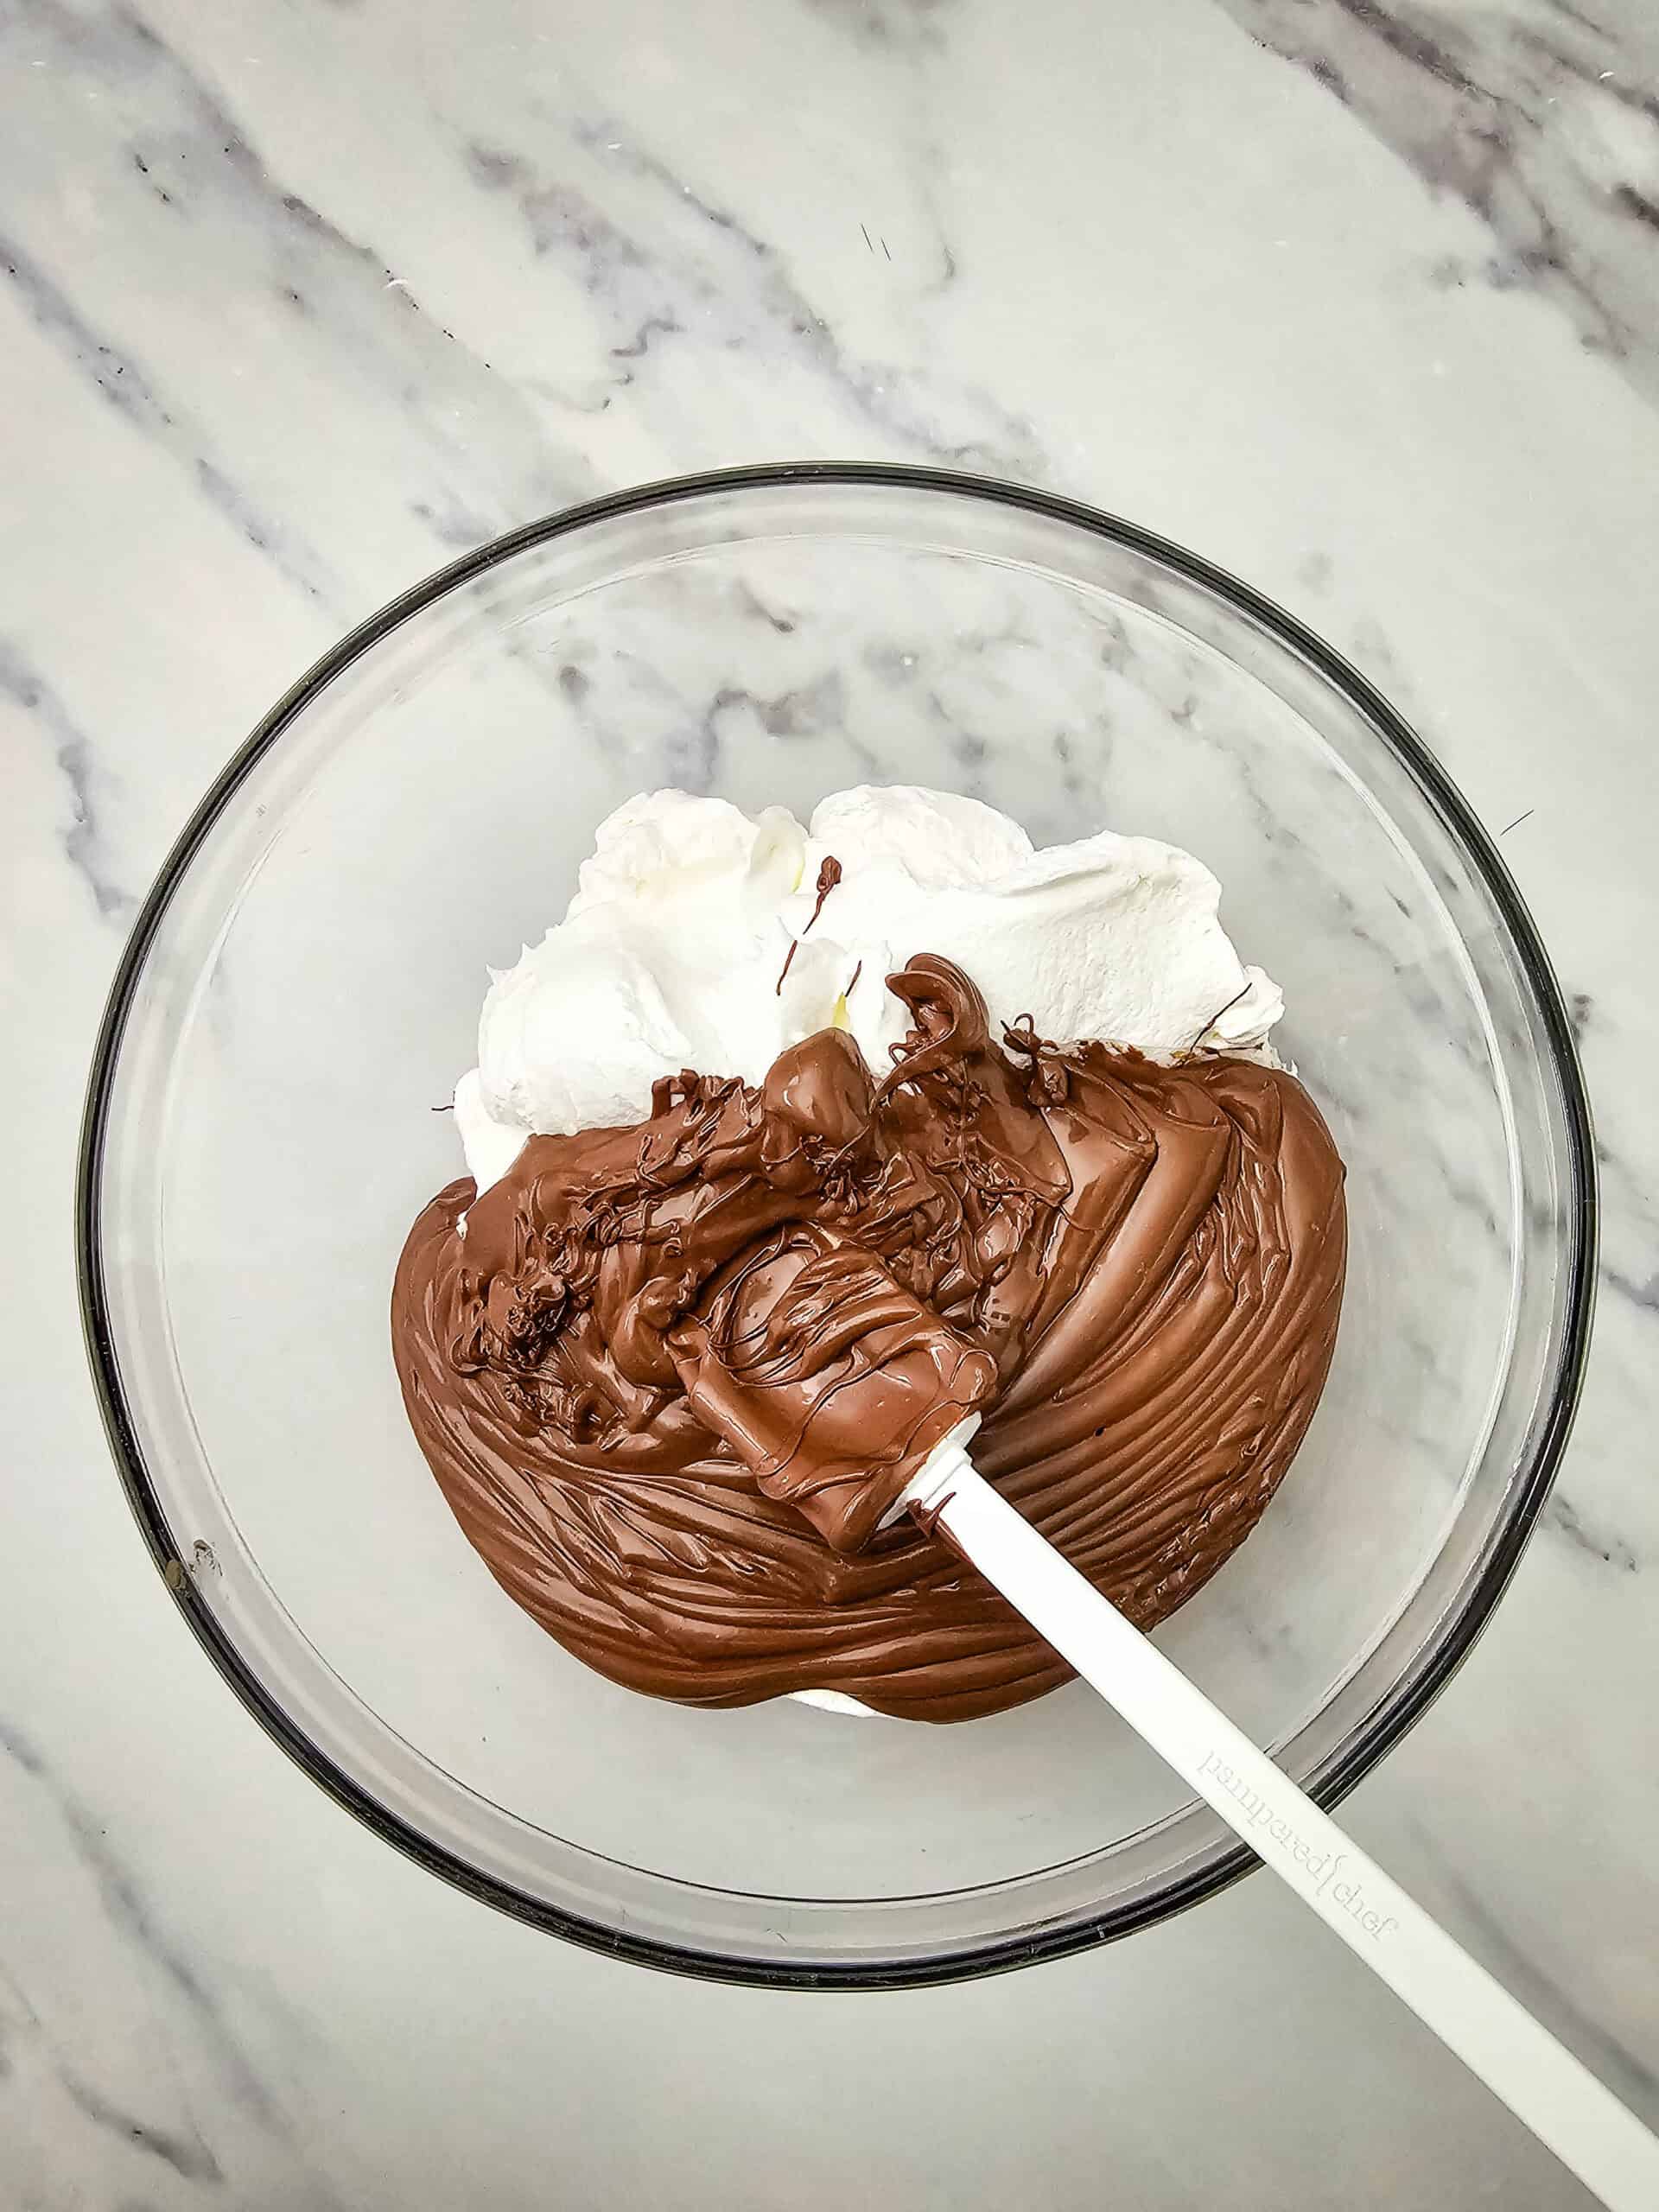
Add the thawed Cool Whip to a large mixing bowl. Once the melted chocolate has cooled, pour it into the bowl and gently stir until everything is combined.
Step 5: Spread Into The Pan
Pour the chocolate and Cool Whip mixture into your prepared 8×8-inch baking pan. Use a spatula to spread it into an even layer.
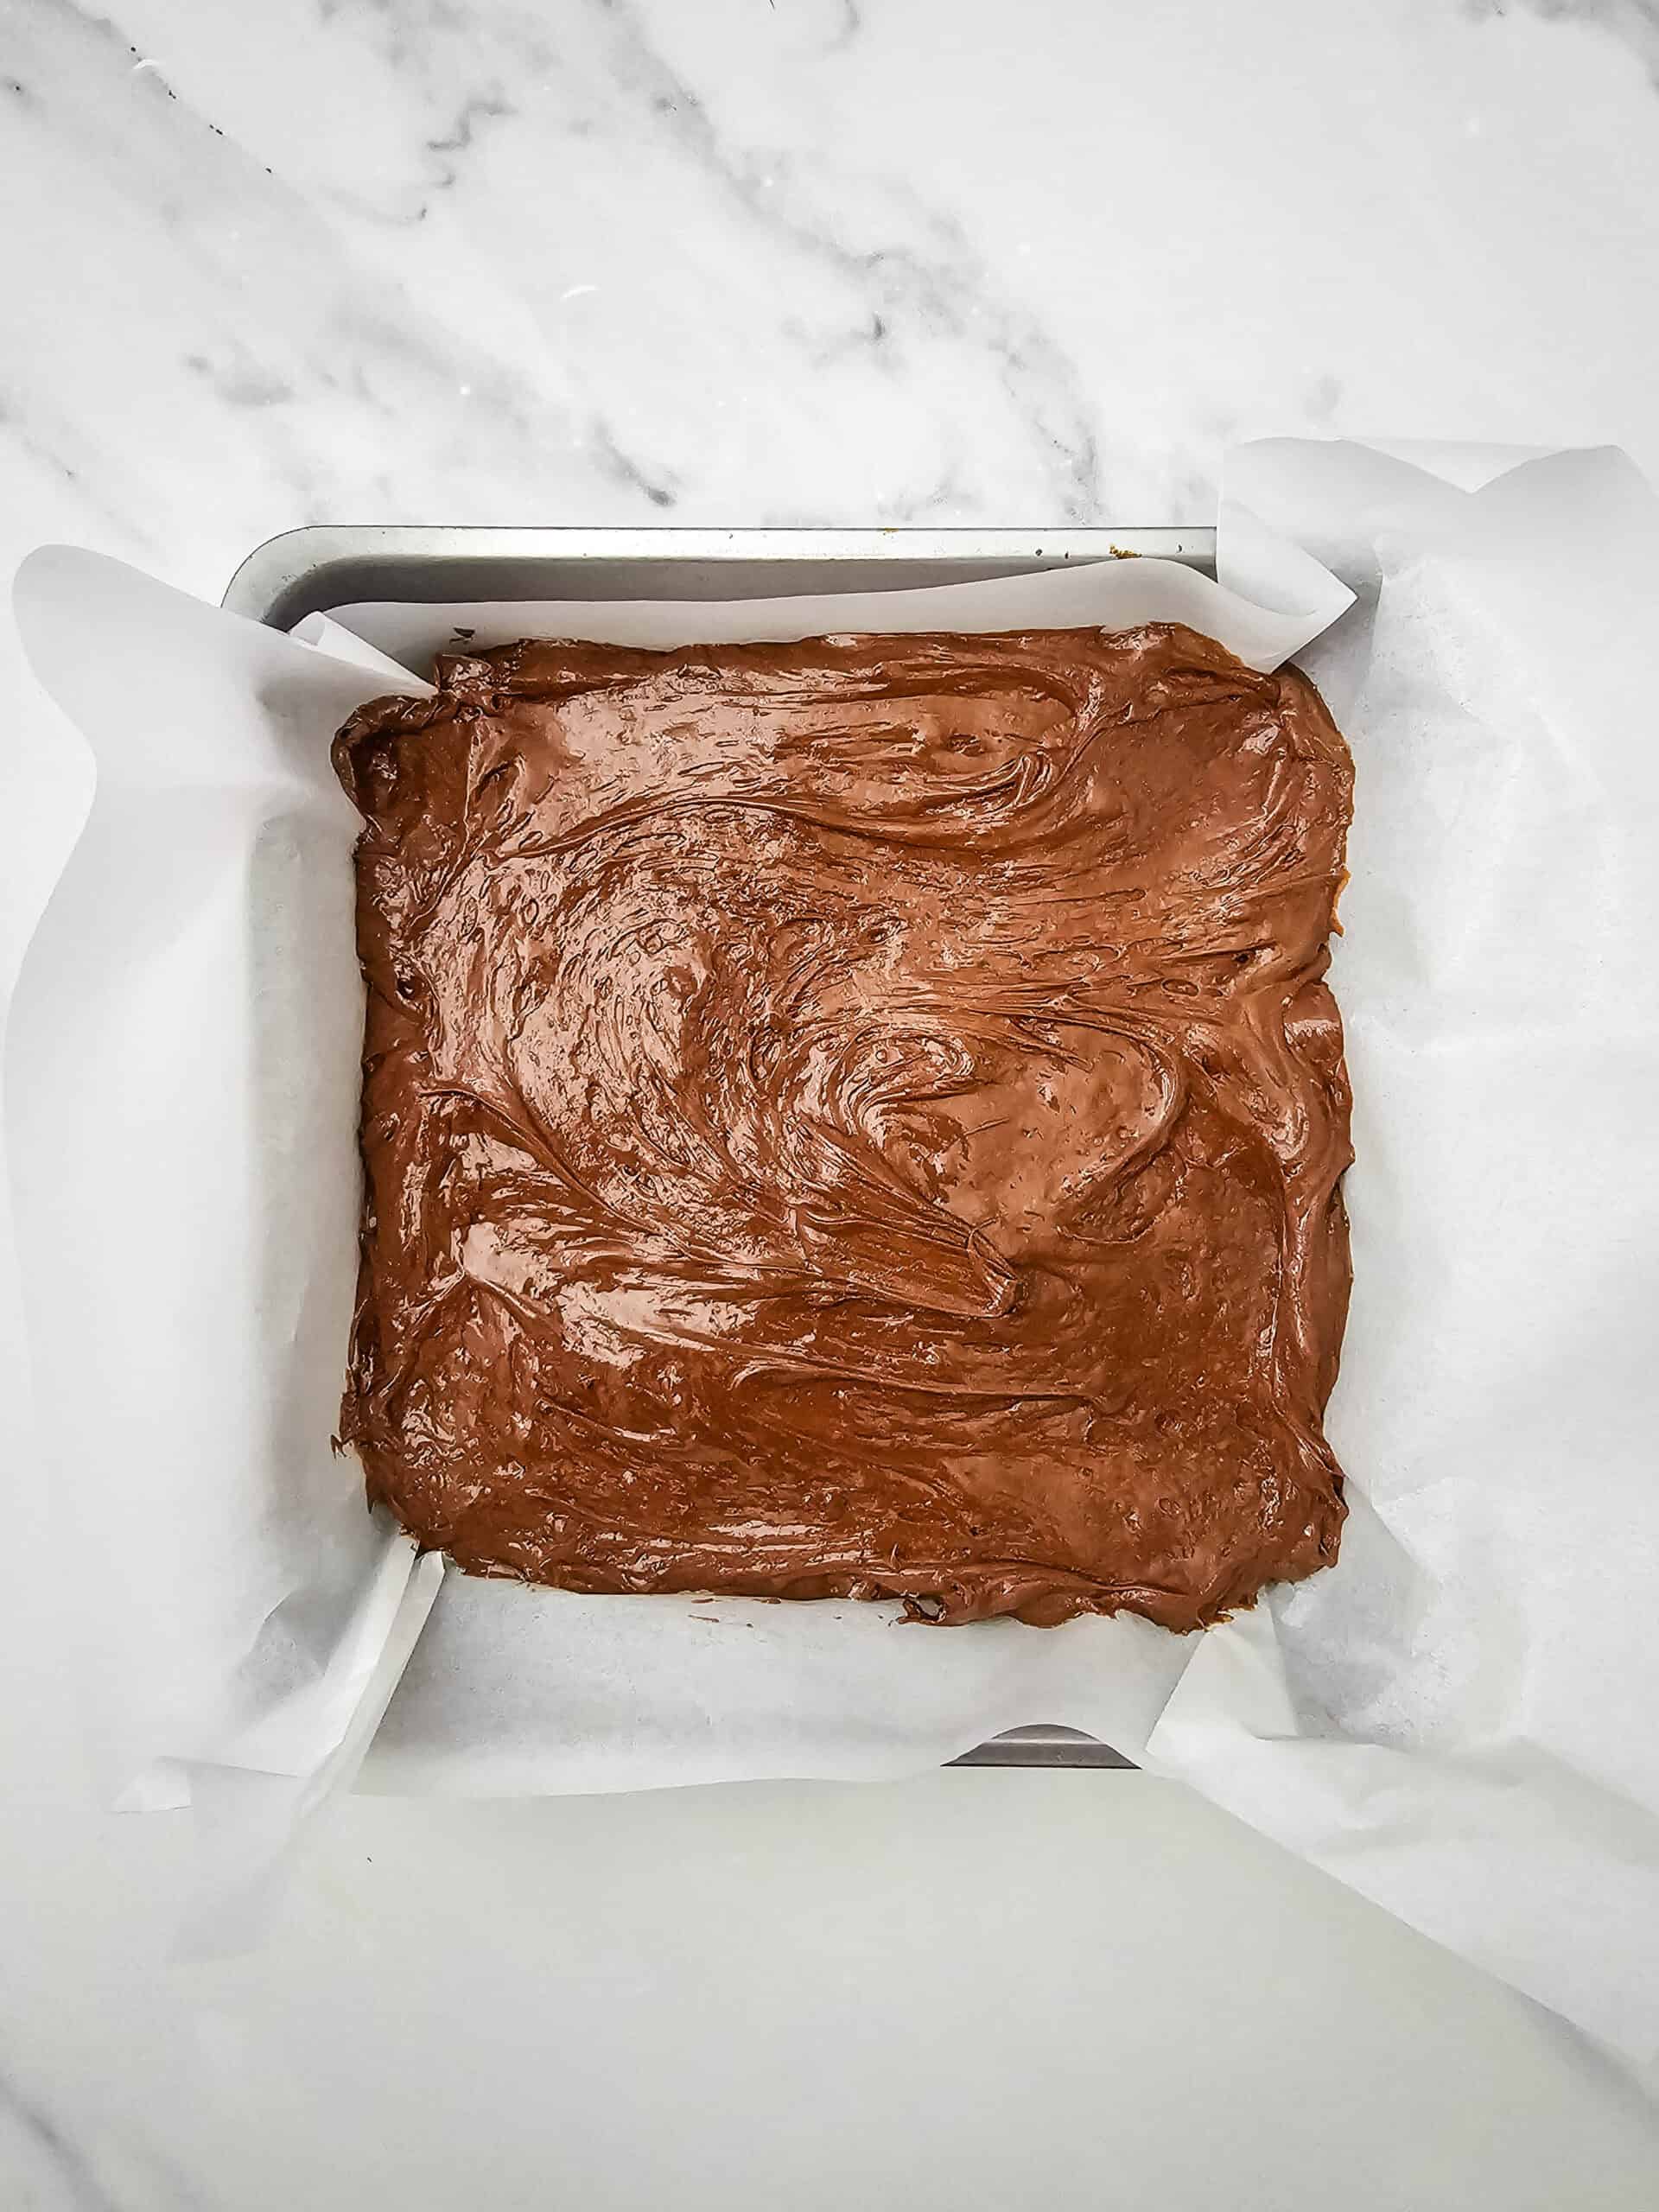
Step 6: Freeze Until Firm
Place the pan in the freezer for about 30 minutes. This will help the mixture firm up enough to cut into squares.
Step 7: Cut Into Squares
Remove the chocolate mixture from the pan and transfer it to a cutting board. Cut it into 6 rows in one direction and 6 rows in the other direction to make 36 small squares.
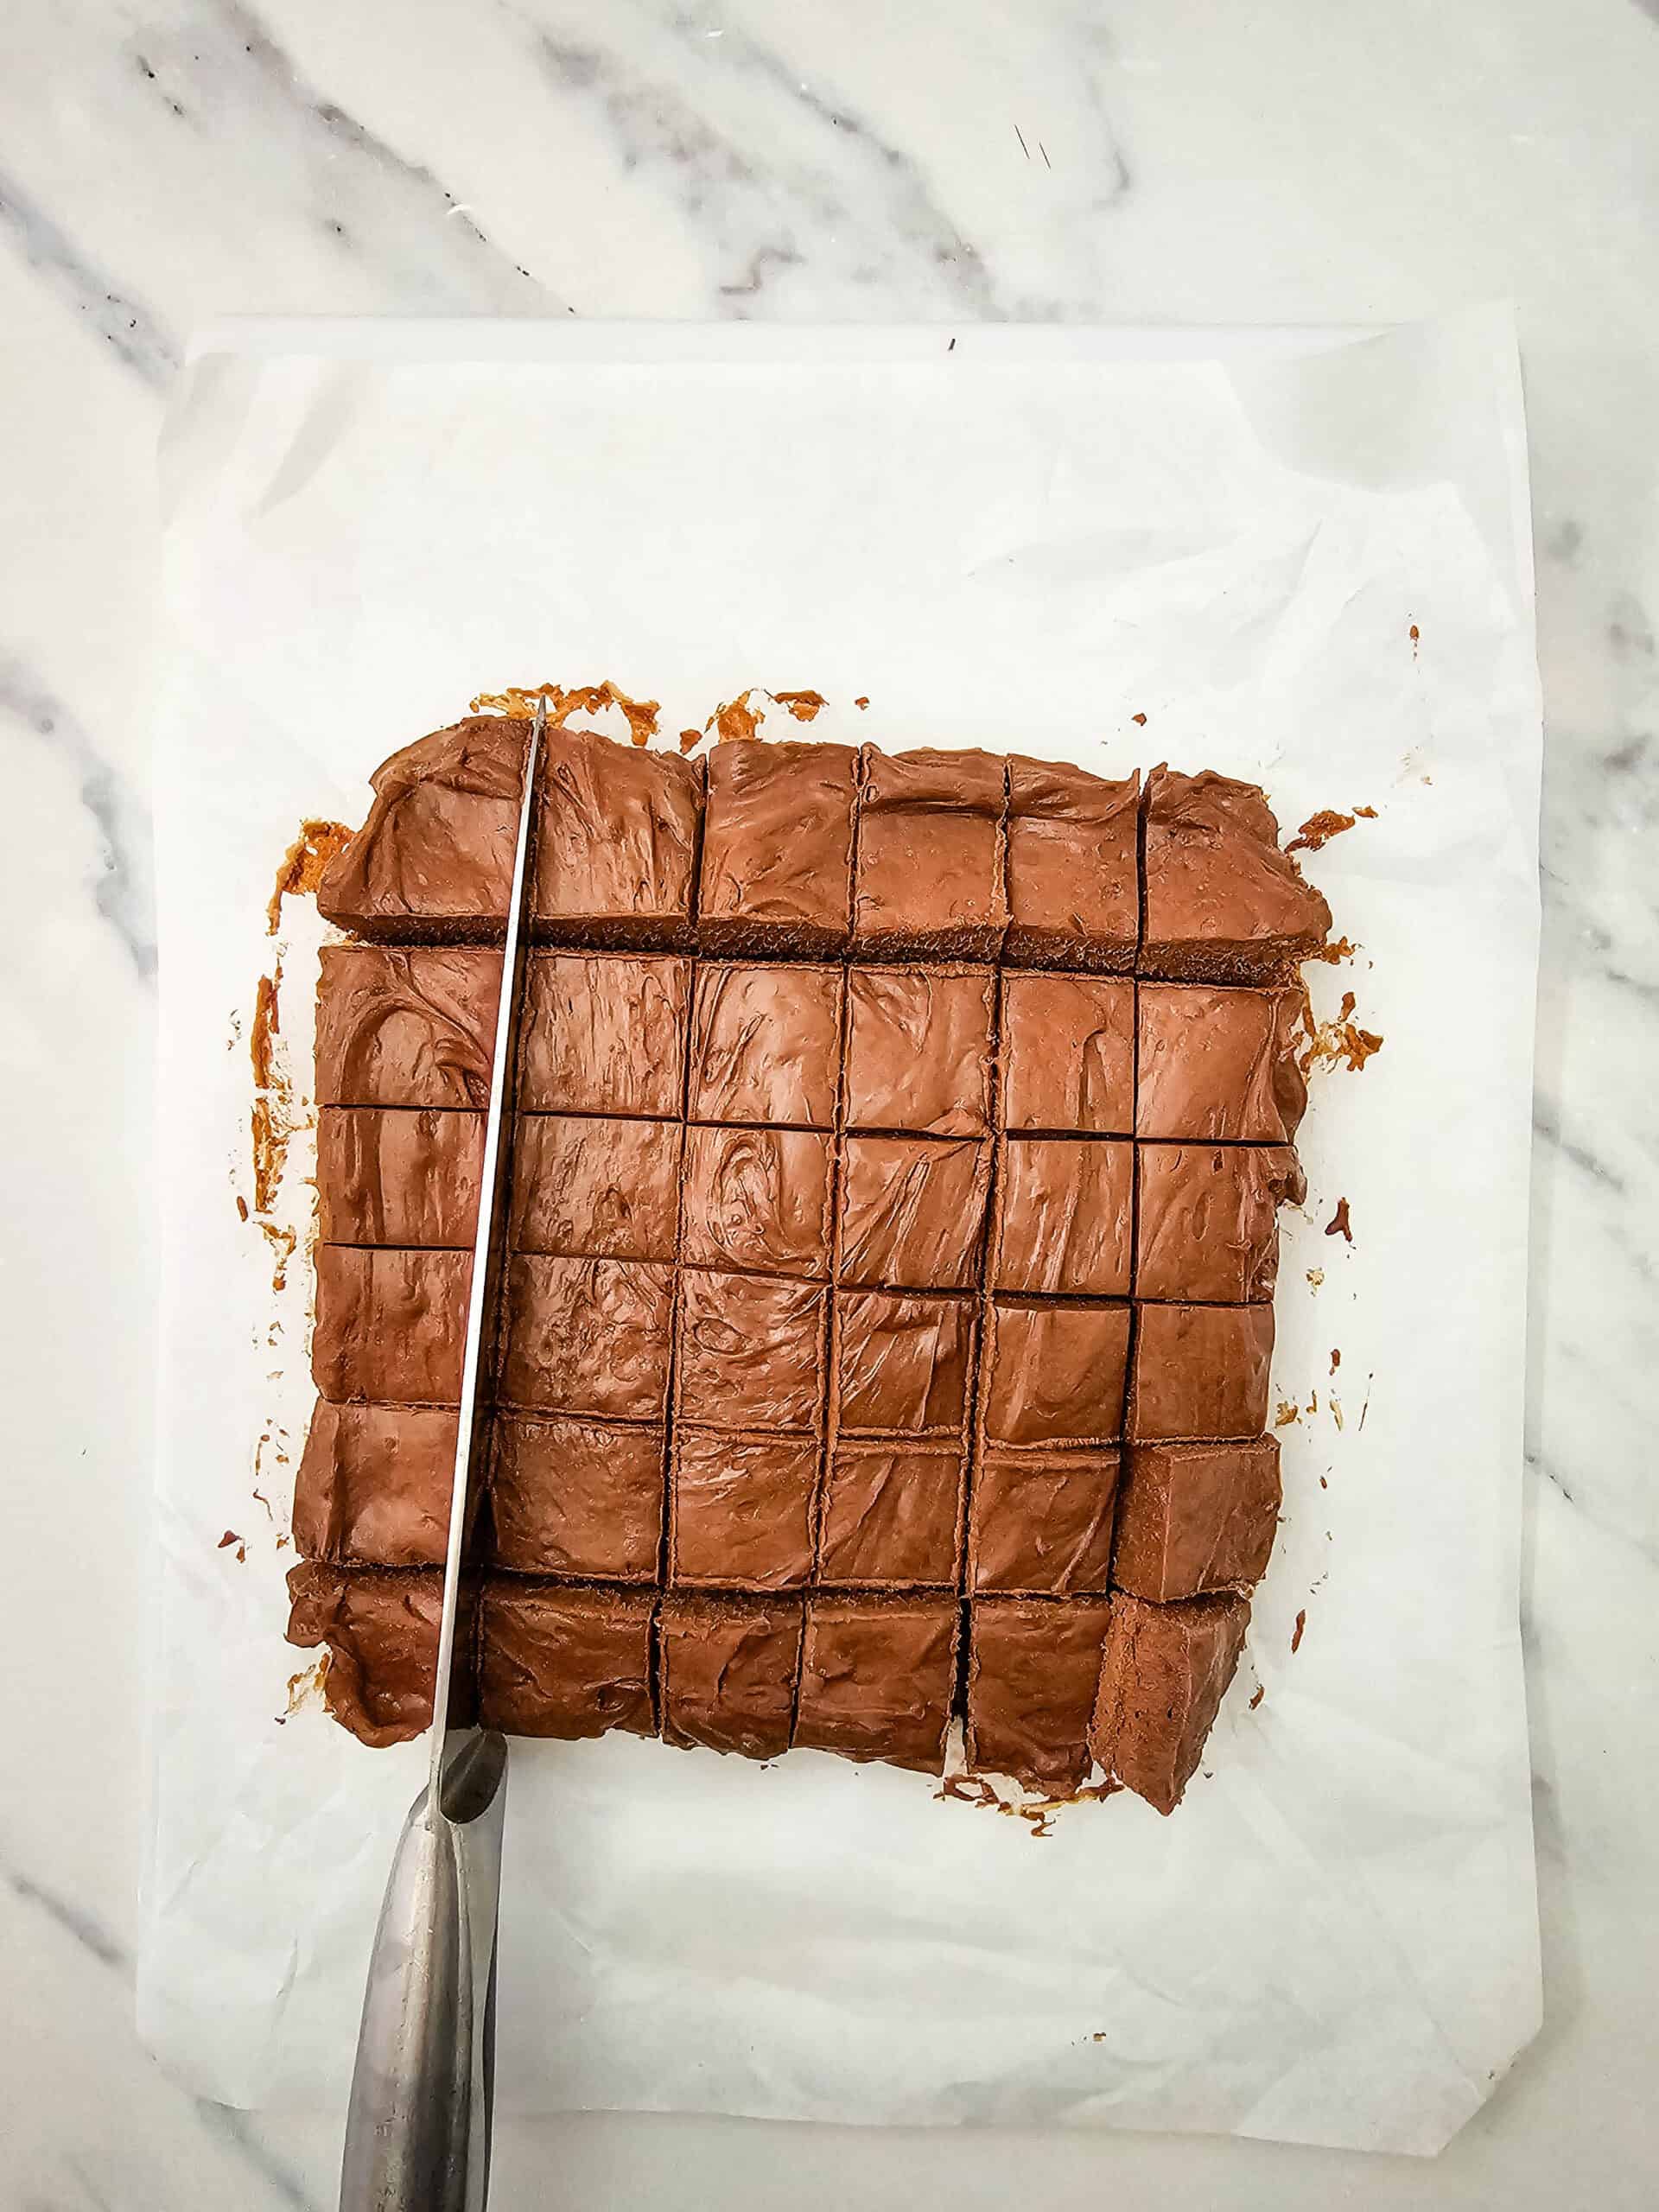
Step 8: Freeze Again
Arrange the squares on your prepared baking sheet or tray and return them to the freezer for another 30 minutes. This helps the centers stay firm when dipping them in chocolate.
Step 9: Melt The Chocolate Coating
Line another baking sheet or tray with parchment paper. Add the milk chocolate melting wafers to a microwave-safe bowl and melt according to the package directions, stirring until smooth.
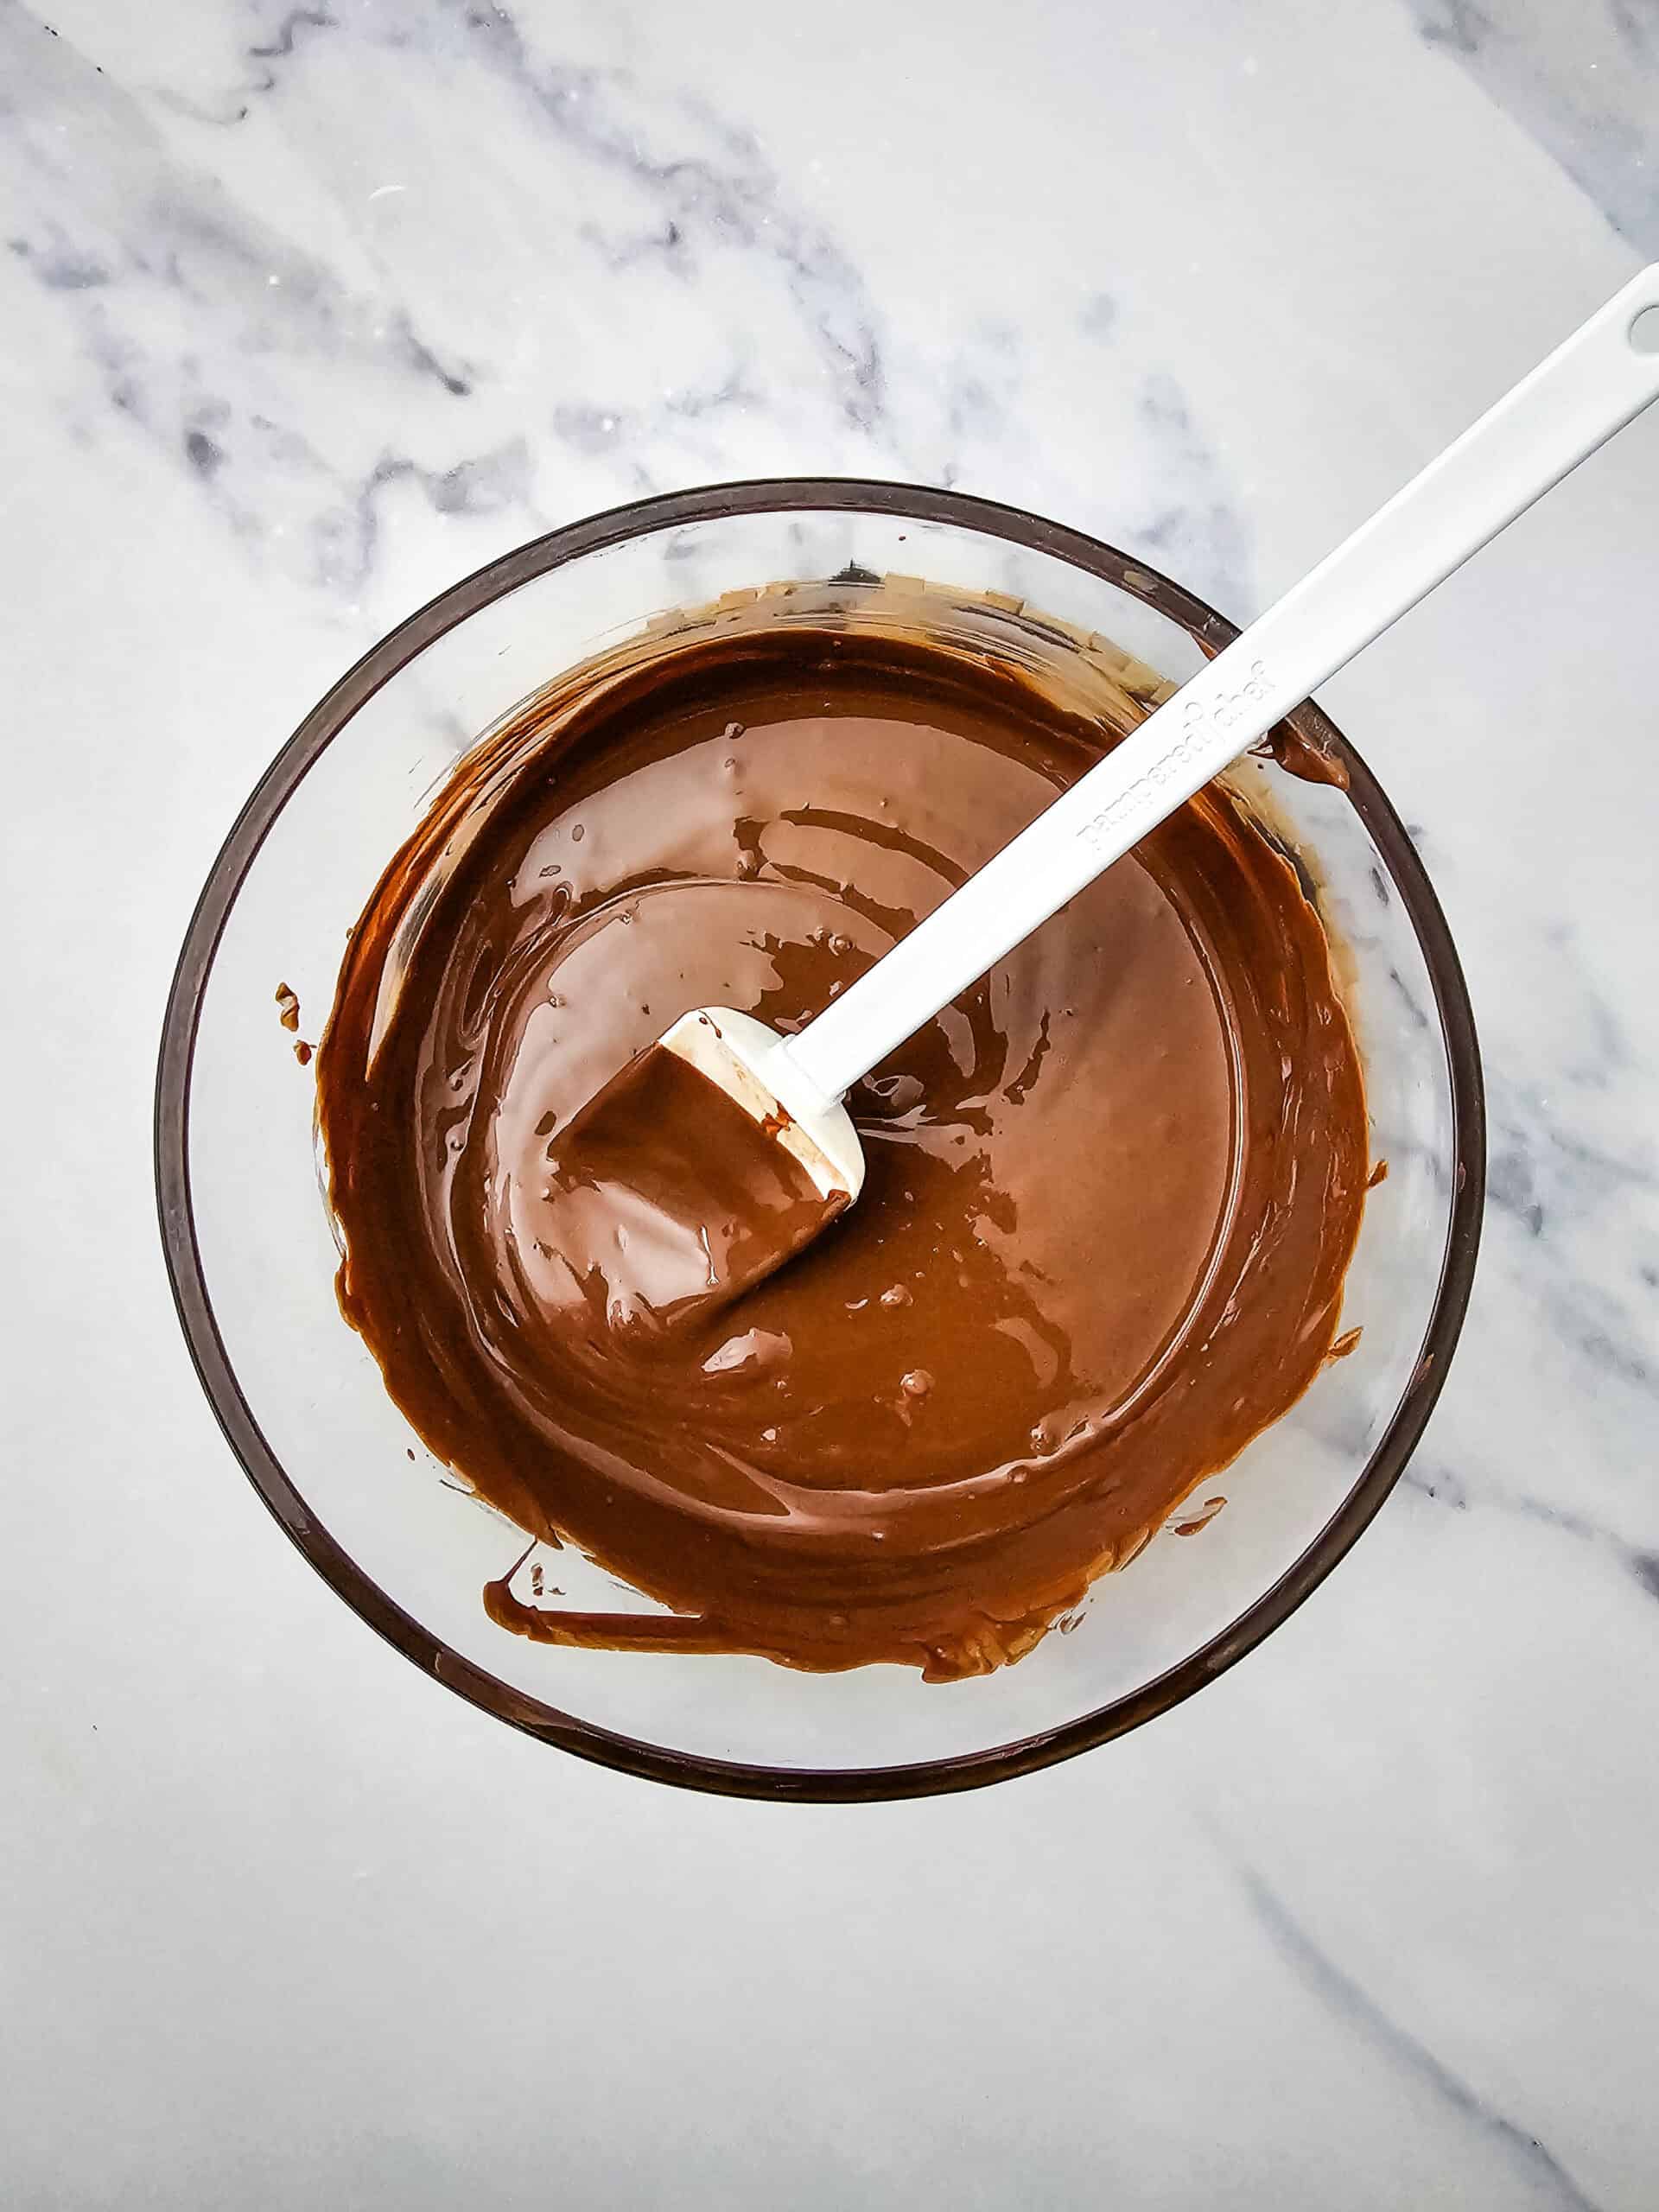
Step 10: Dip The Candies
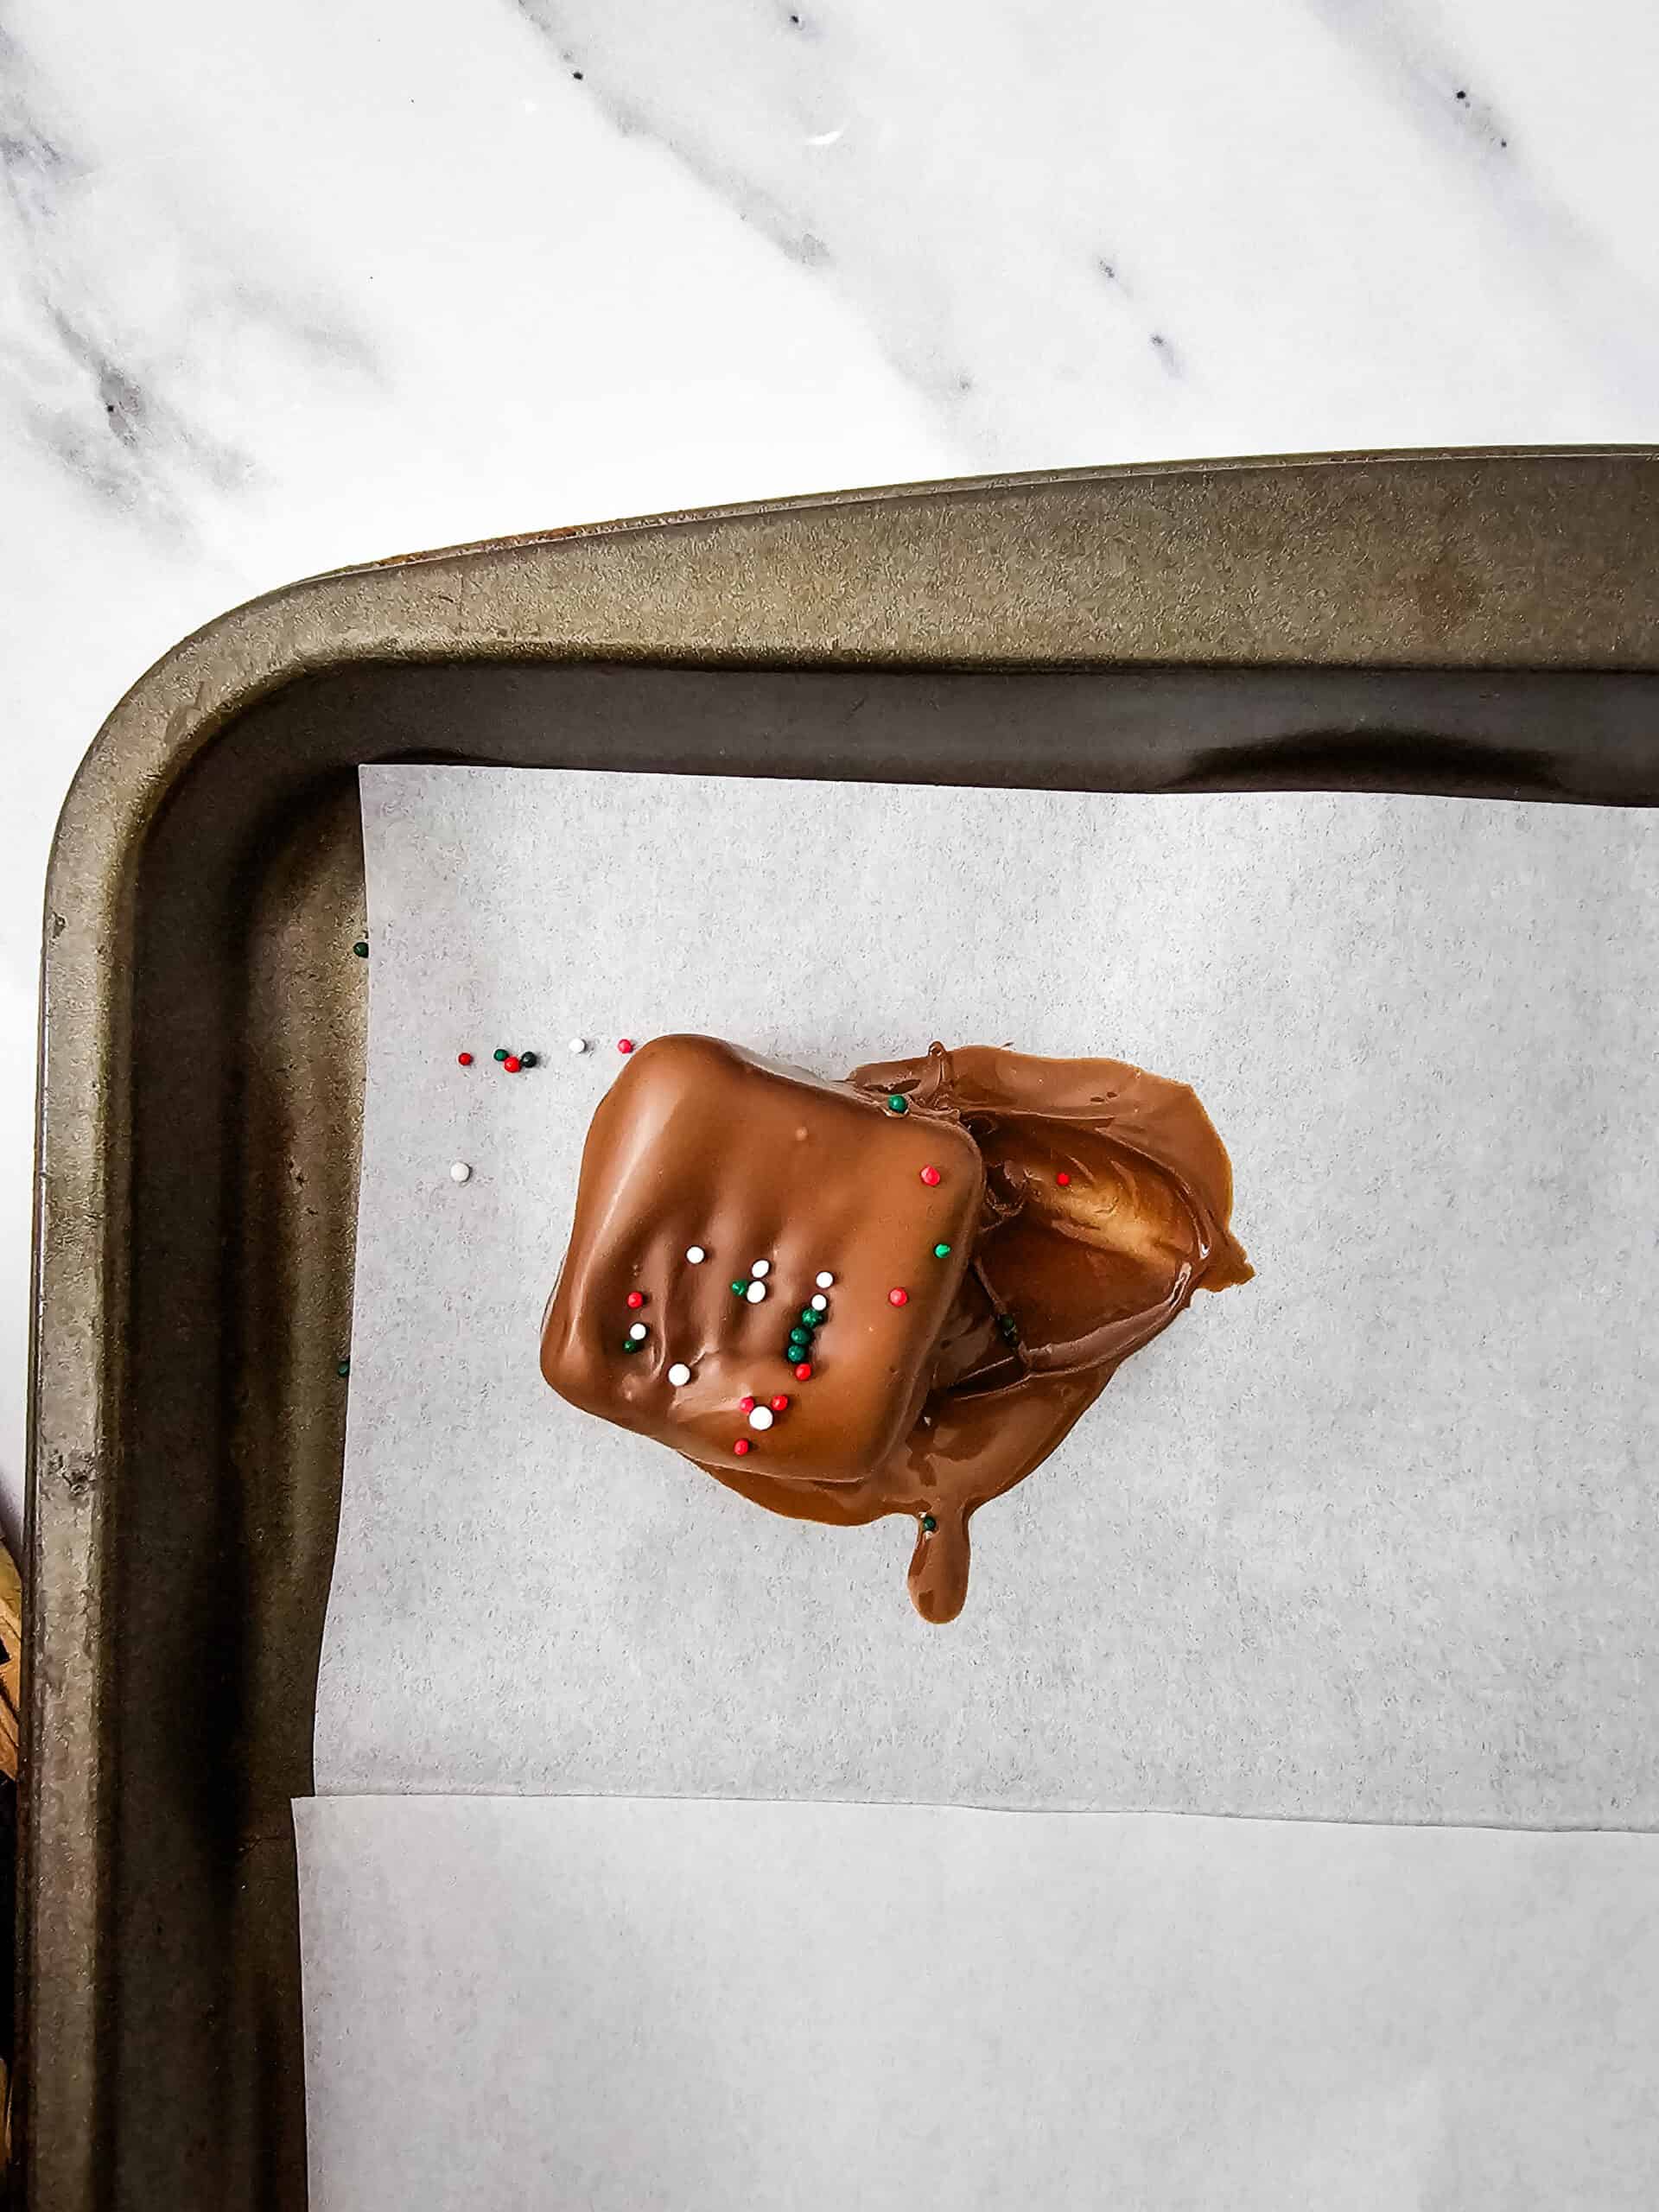
Working with a few pieces at a time, remove the candy squares from the freezer. Use a fork or two to dip each square into the melted chocolate, making sure it’s completely coated.
Allow the excess chocolate to drip off before placing each candy onto the parchment-lined baking sheet.
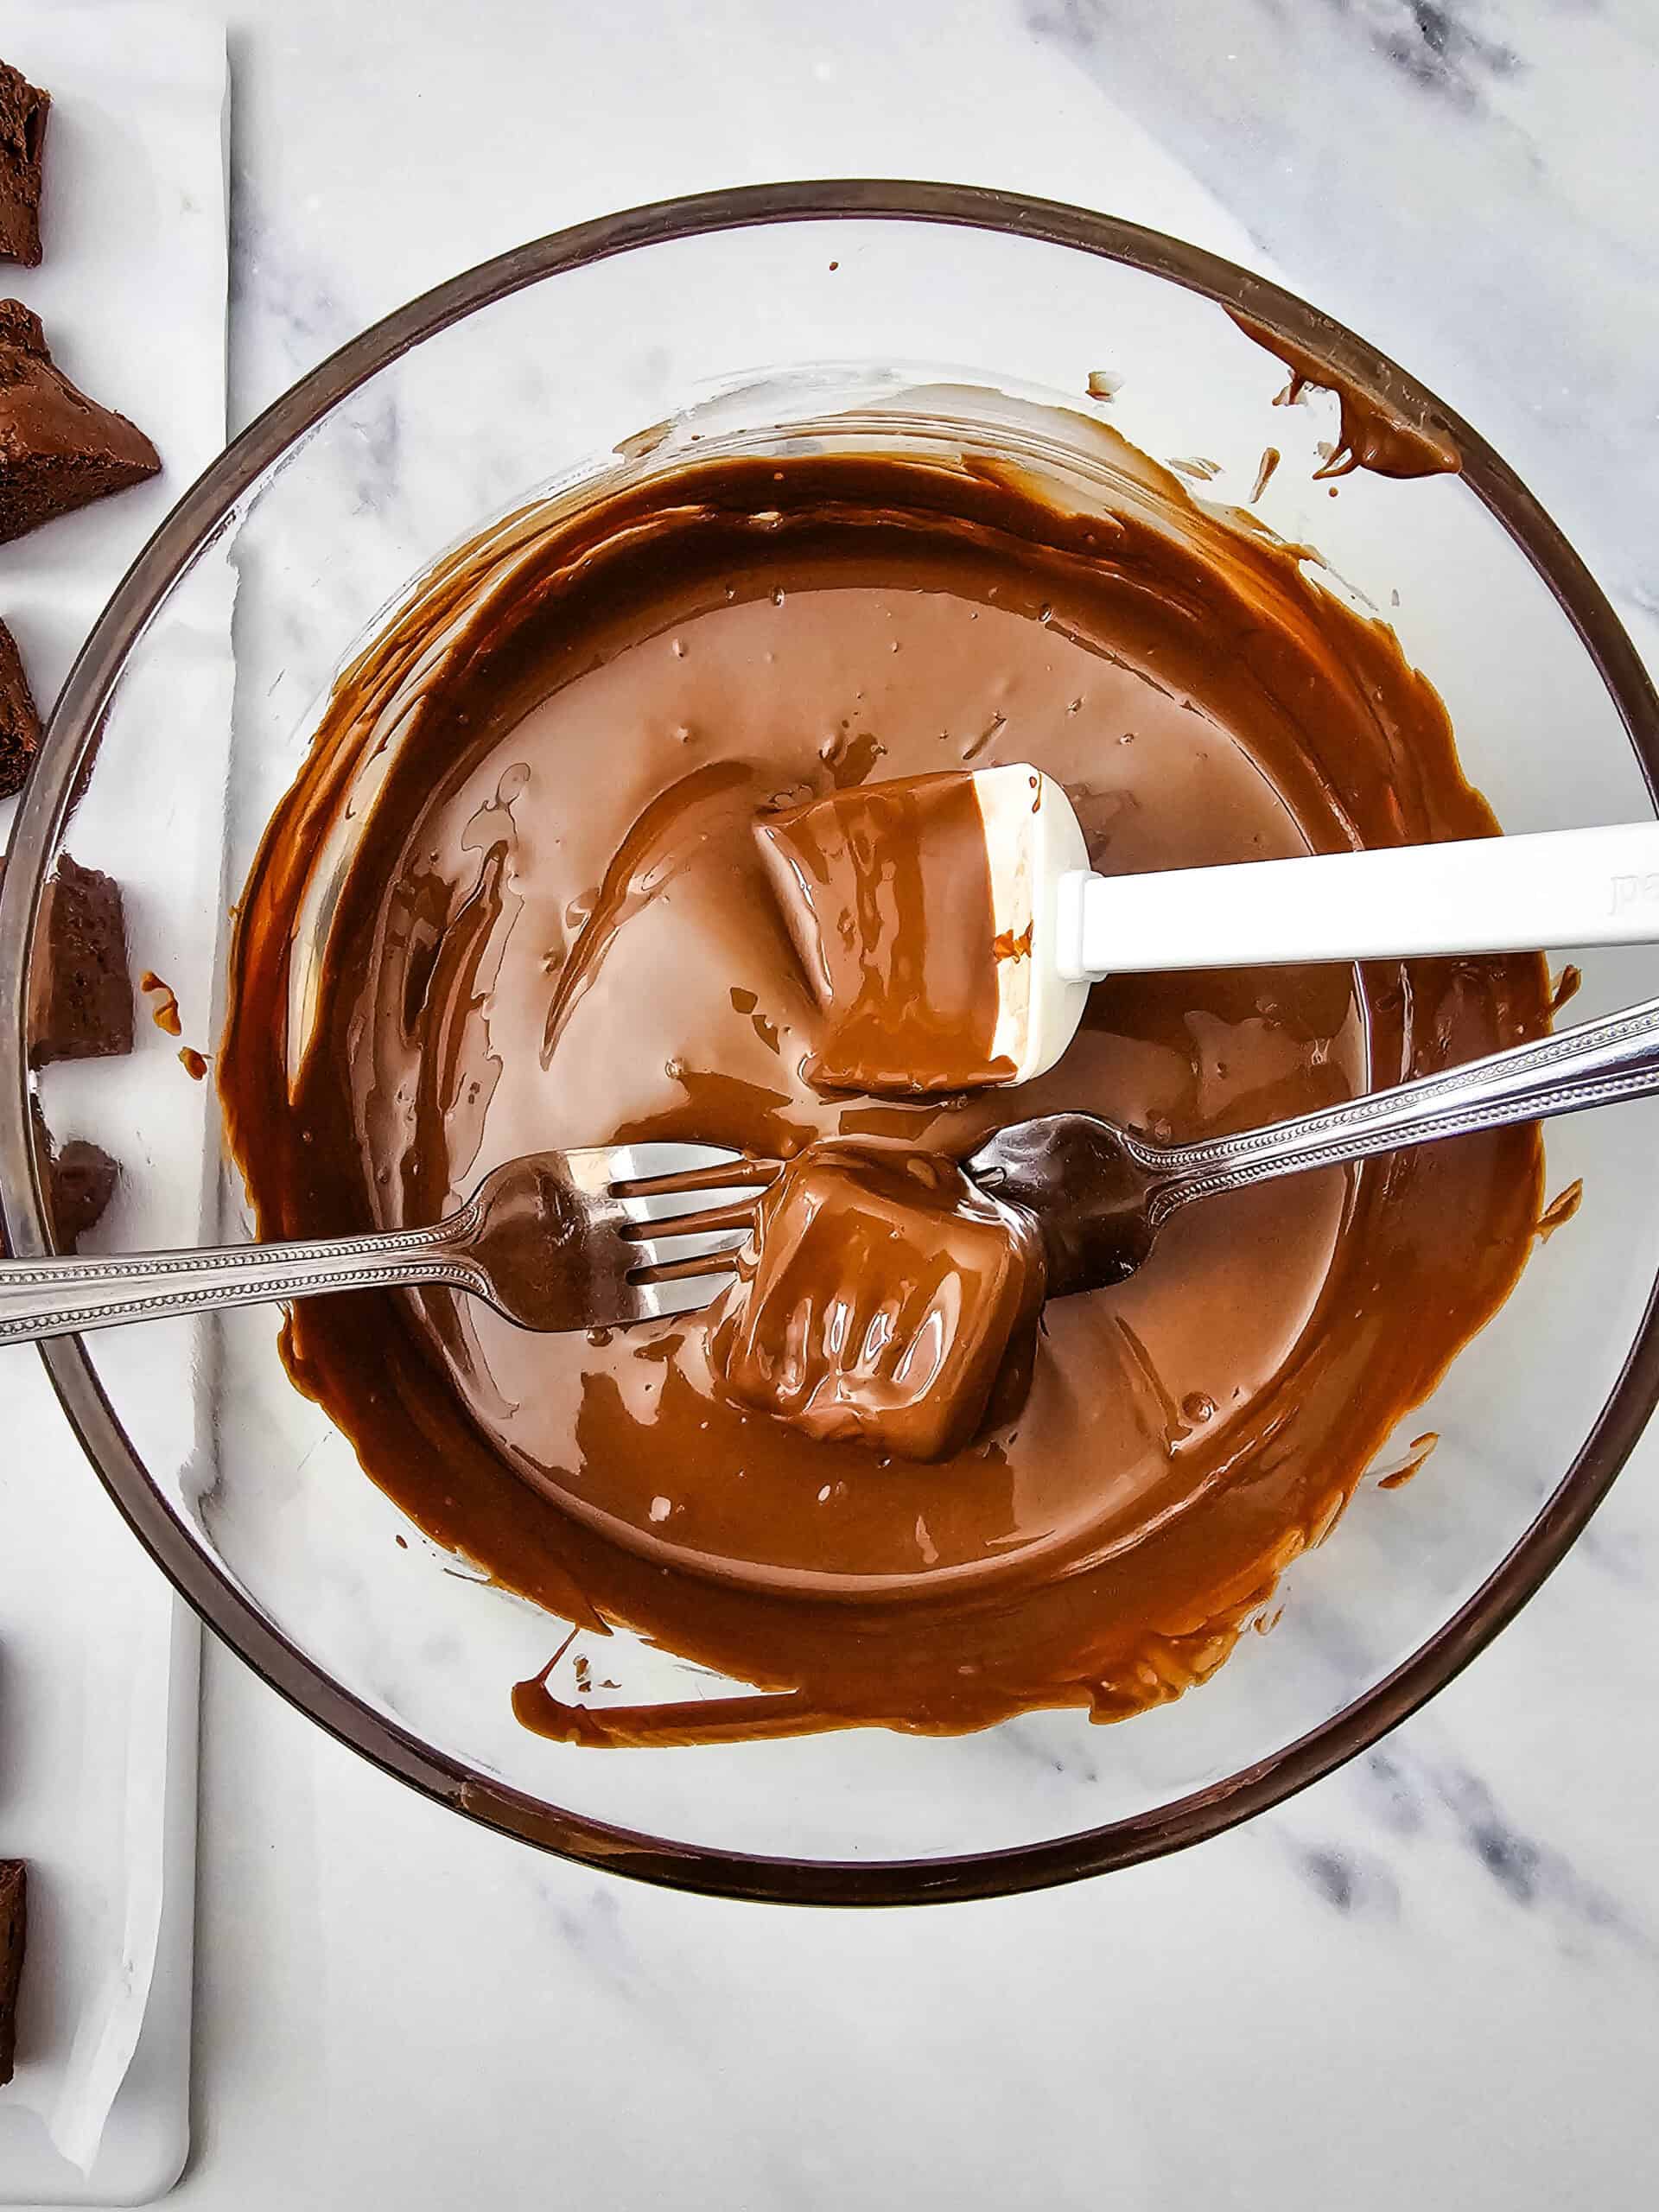
Step 11: Add The Sprinkles
While the chocolate coating is still wet, immediately add your Christmas sprinkles. Repeat with the remaining candies.
Step 12: Freeze Until Ready To Serve
Once all the candies are coated and decorated, cover the tray and return them to the freezer until you’re ready to serve.
Enjoy!
Tips For Making Christmas Cool Whip Candy
- Let the chocolate cool first: Make sure your melted chocolate chips have cooled to room temperature before mixing them with the Cool Whip.
- Work in batches: Keep the candy squares in the freezer and only take out a few at a time. This makes dipping much easier.
- Add sprinkles right away: The chocolate coating sets quickly, so add your sprinkles immediately after dipping each candy.
- Use different sprinkles: Red and green Christmas sprinkles are perfect, but you can also use crushed peppermint or festive sanding sugar.
How To Store Christmas Cool Whip Candy
These candies need to be stored in the freezer because of the Cool Whip filling. Keep them in an airtight, freezer-safe container until you’re ready to enjoy them.
You can serve them straight from the freezer or let them sit out briefly to soften slightly before eating.
Frequently Asked Questions
Can I make Cool Whip candy ahead of time?
Absolutely! These are actually a great make-ahead Christmas treat. Prepare the candies, freeze them in an airtight container, and take them out when you’re ready to serve.
Do I have to use milk chocolate?
No! You can switch things up with dark chocolate or white chocolate melting wafers for the coating. You could even add different coloured sprinkles to match the occasion.
Can I use homemade whipped cream instead of Cool Whip?
For this recipe, I recommend sticking with Cool Whip. It has a more stable texture than homemade whipped cream and helps the candy filling hold together.
Why does the candy need to be frozen before dipping?
The filling is quite soft, so freezing helps the squares hold their shape when they’re dipped into the melted chocolate. It also makes the whole process much less messy.
Christmas Cool Whip Candies
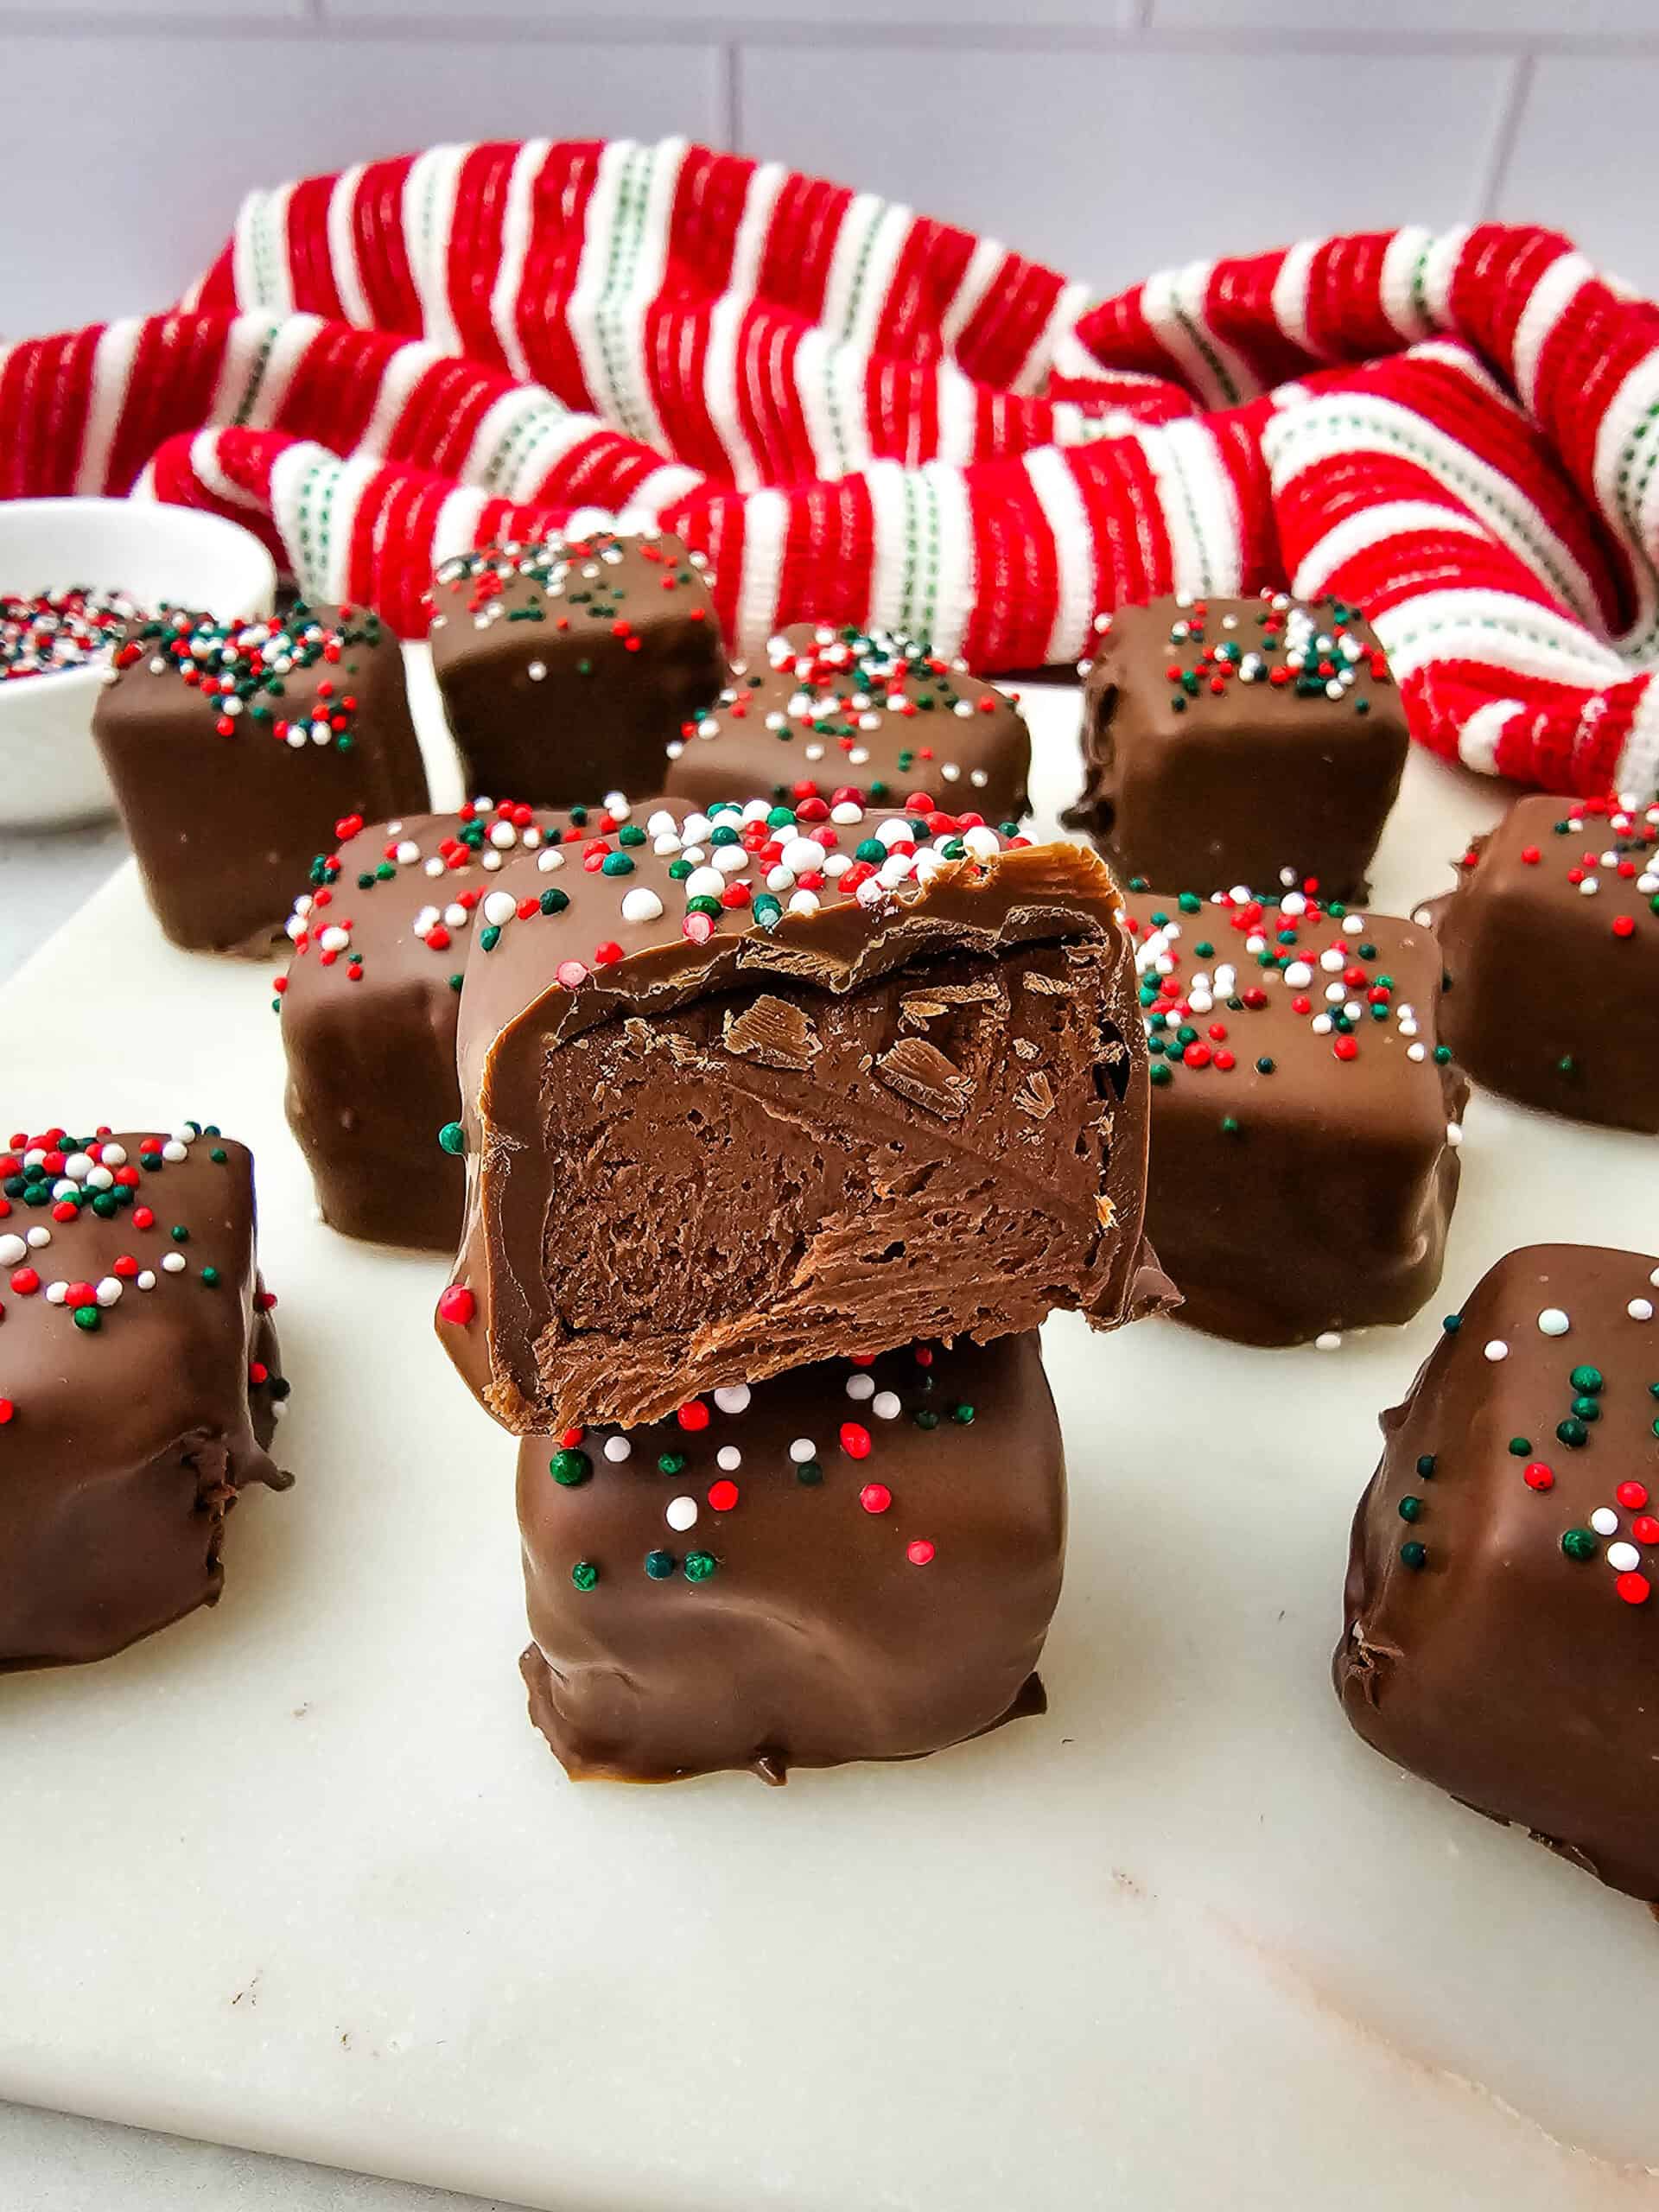
Christmas Cool Whip Candy is an easy, no-bake holiday treat with a light, fluffy center and a delicious chocolate coating. Made with just a few simple ingredients, these bite-sized candies are perfect for Christmas parties, cookie trays, and homemade gifts.
Ingredients
- 23 oz bag milk chocolate chips
- 8 oz Cool Whip, thawed
- 24 oz package milk chocolate melting wafers
- Christmas sprinkles
Instructions
- Line an 8x8 inch baking pan with parchment paper. Now line a baking sheet or tray with parchment paper.
- Add the chocolate chips to a microwave safe bowl and heat for one minute, then stir and heat in 30 second heat sessions, stirring between, until fully melted.
- Allow the chocolate to set for about 15 minutes or so to come to room temperature.
- Meanwhile, add the Cool Whip to a large bowl.
- Once the chocolate has cooled, pour it into the Cool Whip and stir to combine.
- Pour the mixture into the prepared baking pan and spread it into an even layer.
- Place it in the freezer for 30 minutes so that it can set enough to cut.
- Remove the chocolate mixture from the pan, and set on the cutting board. Cut into 6 rows, then another 6 rows, so that you have 36 squares.
- Arrange the squares on your prepared baking sheet or tray and transfer it to the freezer for 30 minutes.
- Line another baking sheet or tray with parchment paper.
- Melt the chocolate wafers in a microwave safe bowl just like you did the chocolate chips.
- Dip the candies into the chocolate using a fork or two, and set on the prepared baking sheet or tray. Top with sprinkles immediately.
- Repeat until they’re all made.
- Cover and freeze until ready to serve.


